
Reception Brief from Sandton
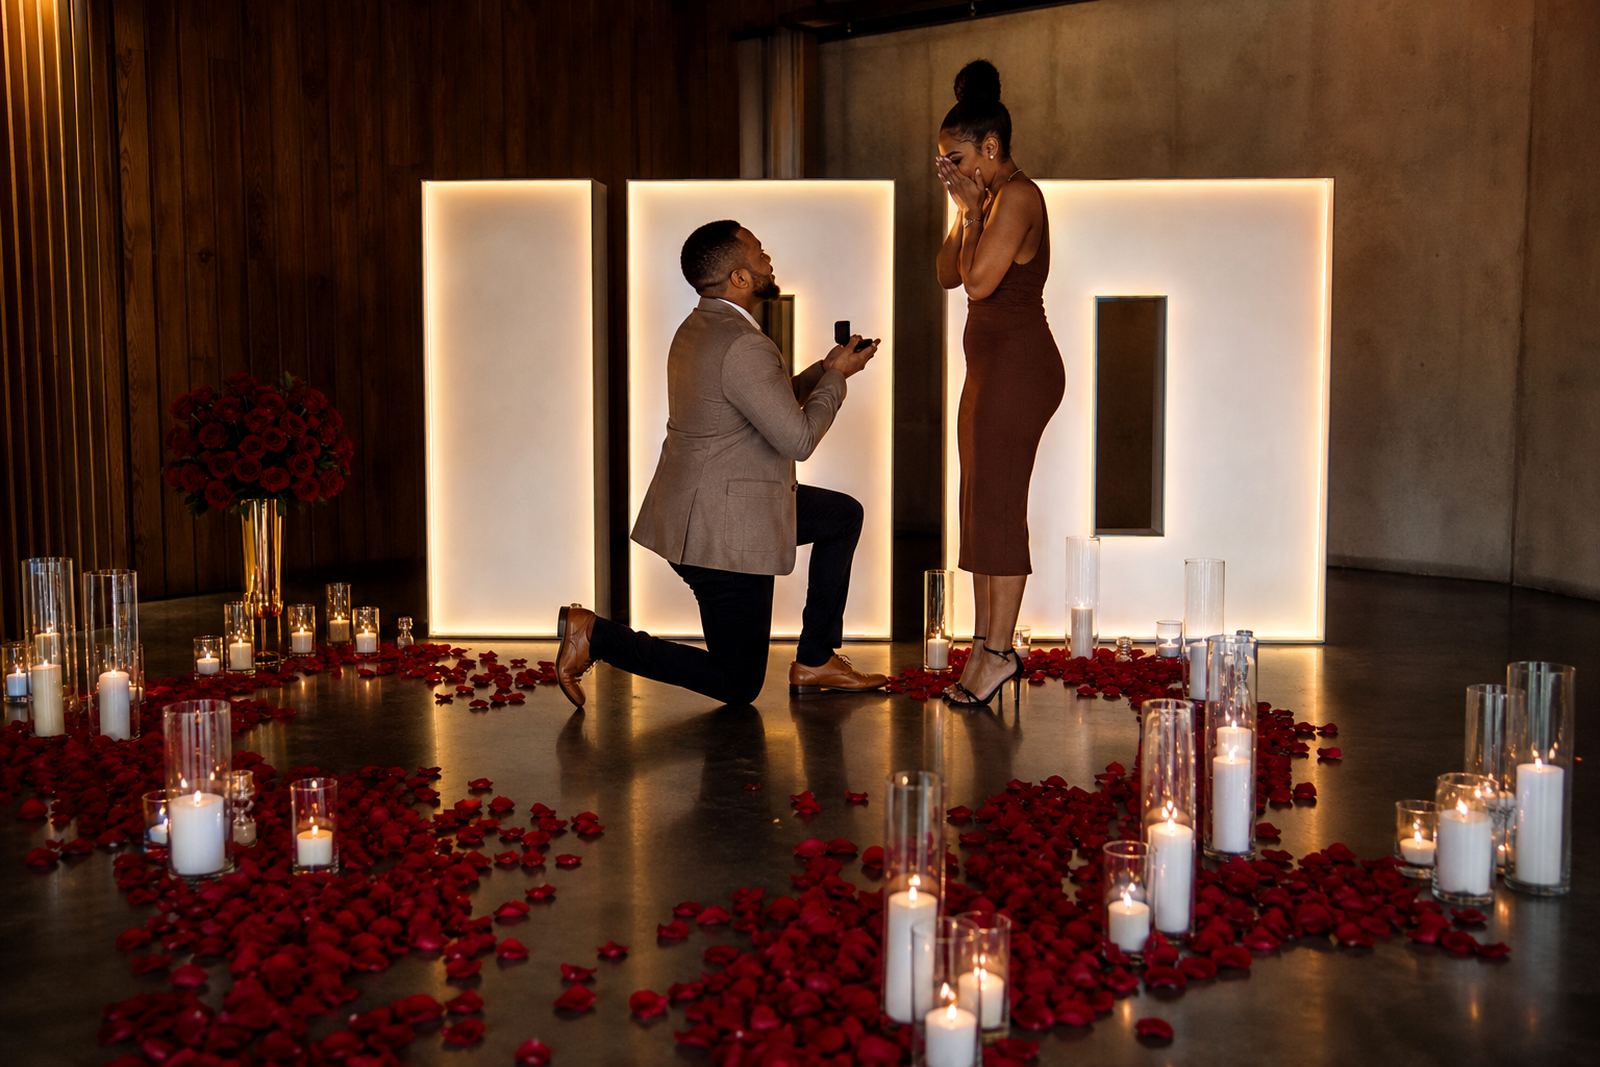
The couple wanted the room to feel warm the moment guests walked in. The venue layout gave us a long reception edge, a clear entrance path and a dance area that would draw attention once the lights dimmed. We worked from a practical brief: the illuminated letters had to read well from across the room, the welcome lightbox needed to guide arrivals without looking crowded, and the floor run had to stay tidy where people would cross near the setup.
Sandton venues often have polished floors, fitted decor and tight service routes, so the placement had to respect both the room and the staff working in it. We mapped the power point position, checked the cable run against table positions and kept enough slack for safe routing without loose loops near chair legs. That part matters more than people realise, because one small cable mistake can affect both the look and the flow of the space.
What We Brought to the Venue
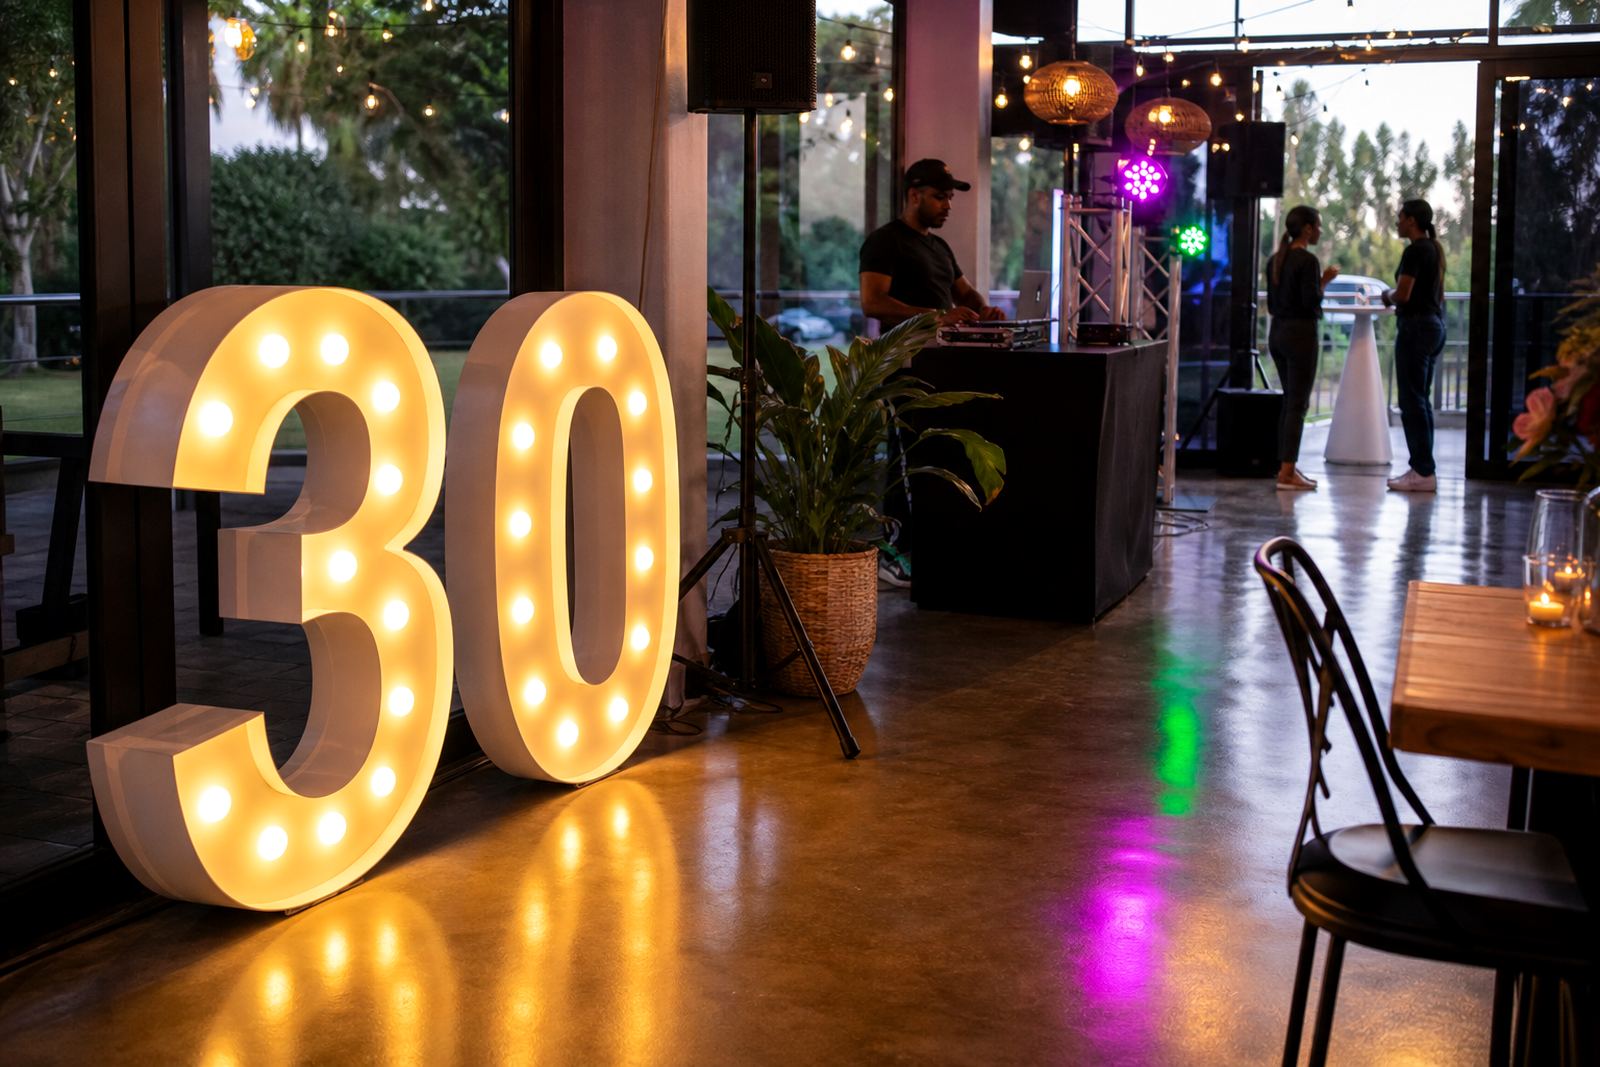
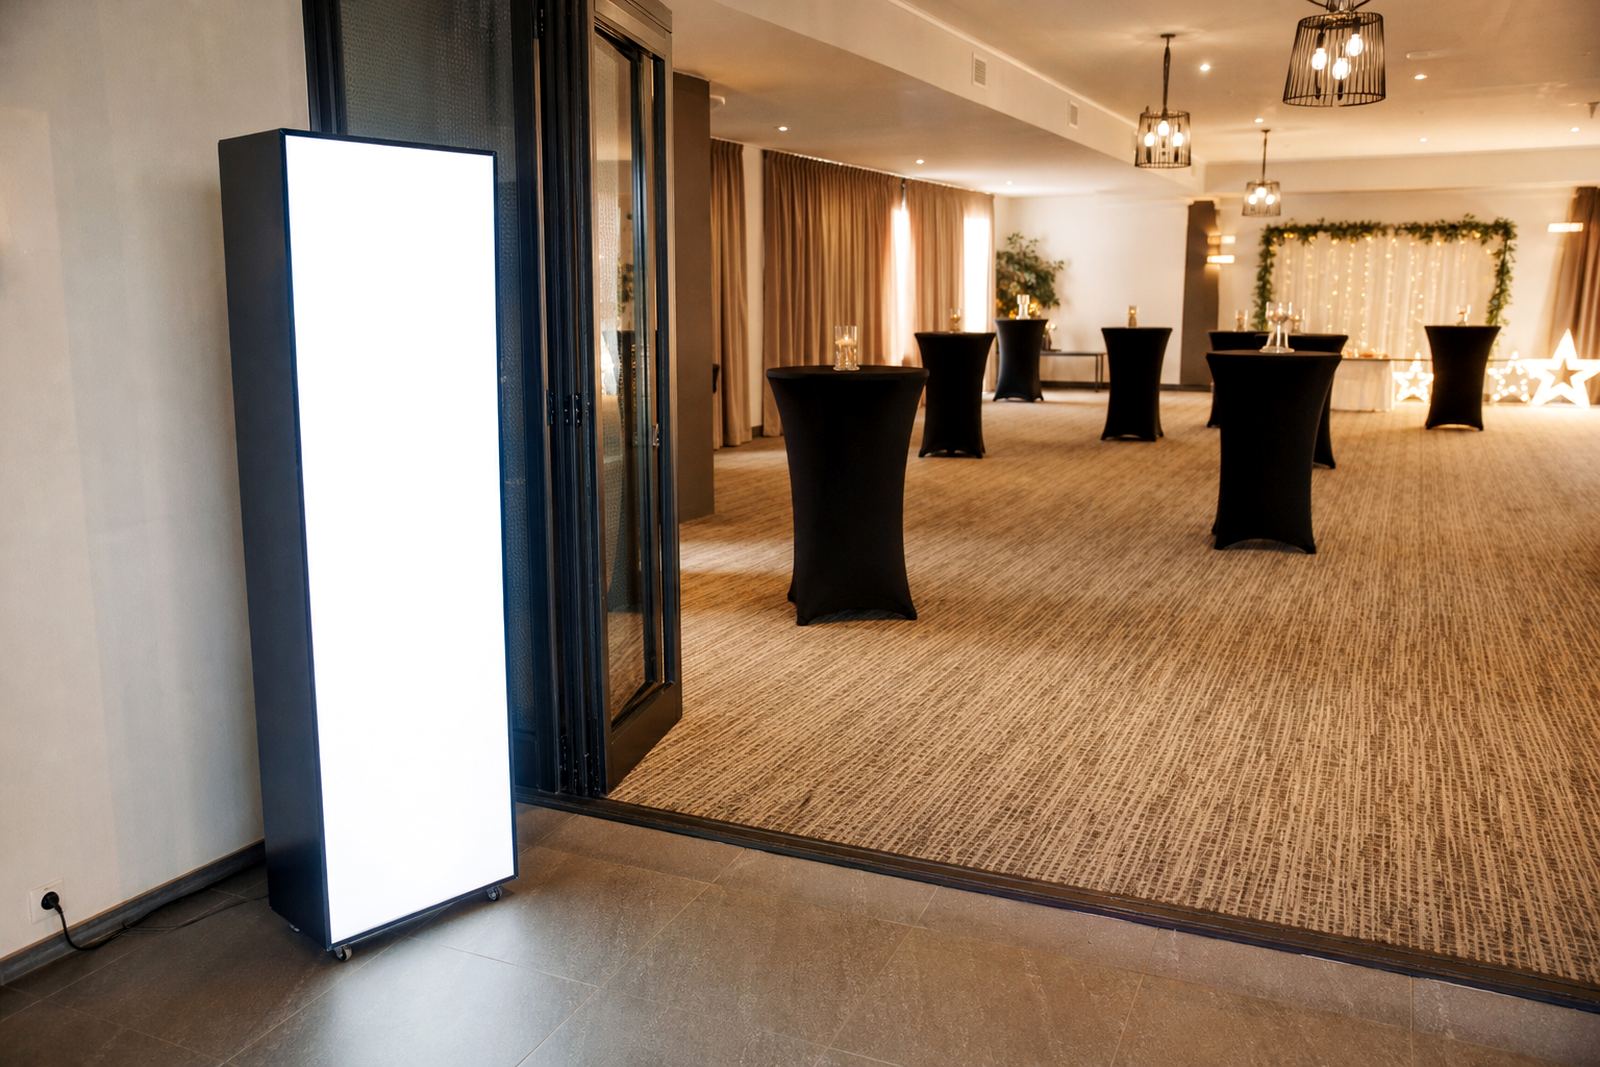
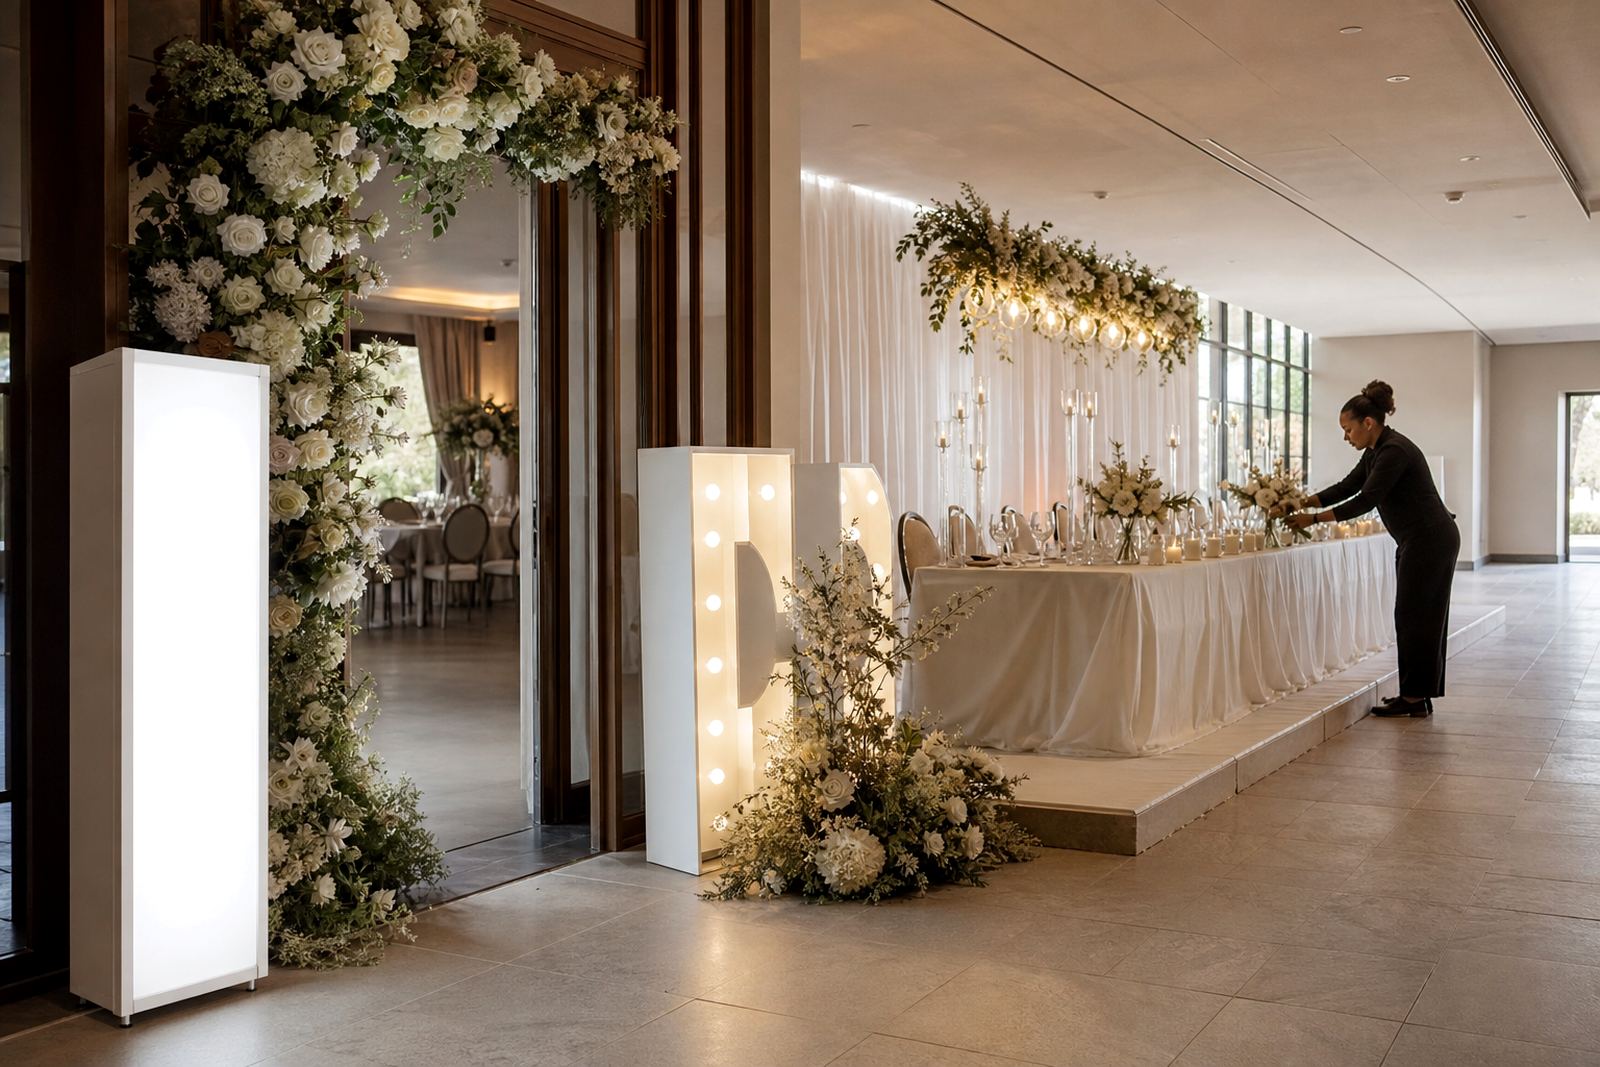
We supplied illuminated letters sized for a reception floor plan, a freestanding welcome lightbox and the cabling needed for a neat, low-profile installation. The letter set was arranged so the faces stayed visible from the main seating area and from the photo point. The lightbox was placed where guests would first enter the room, which gave the couple a clear welcome moment without blocking movement through the venue.
- Illuminated letters for a focal display near the reception edge
- Freestanding welcome lightbox for the entrance route
- Safe cable routing with taped-down sections where needed
- Power point check before the final placement
- Venue set-up, positioning and post-event collection
We also prepared for the floor finish in the room. Where polished surfaces were involved, the base positions had to sit squarely and not drift during the evening. Our setup team fine-tuned the final spacing on site, because even a slight alignment change can alter the whole look of the display once the room fills up.
Set-up Sequence and Timing
The work ran across two weeks in a steady sequence. In the first week, we confirmed the available power point positions, the entrance route and the space needed for the letters. In the second week, the team delivered the pieces, installed the lightbox first and then set the illuminated letters into their final positions. Once the layout was in place, the cabling was tucked and secured so that staff could move freely around the room.
On the day of the reception, the installation was handled with the venue timetable in mind. The setup had to fit around styling, table placement and the final room check, so each item was installed in the order that made the floor easiest to work on. That meant fewer obstacles for the venue team and a cleaner result for the wedding photographs. The collection after the event was planned just as carefully, with the removal sequence set to protect the venue finish and the decor around it.
- Week one: site planning, power point check and layout confirmation
- Week two: delivery, installation and final placement adjustments
- Event day: venue set-up before guest arrival
- After the reception: careful collection and removal of the display
Floor Cabling and Venue Care
The visible part of any illuminated install gets the attention, but the floor work is what keeps everything safe and orderly. In this Sandton room, we kept the cable run close to the wall line where possible and used a shorter exposed section only where the power point sat away from the display. The cable was laid flat and secured so it would not lift at the edges or catch under shoes, chair legs or cleaning equipment.
Venue care also meant keeping the setup light on its feet. The base positions were checked before the lights were switched on, then checked again once the room lights changed and the lettering faced the seating area. That last check can make a real difference because the display can look slightly different once the room darkens and the reception lighting takes over. The team stayed focused on balance, access and a finish that looked deliberate rather than crowded.
The Room Once Guests Walked In
The welcome lightbox set the tone at the entrance and the illuminated letters carried the main visual point through the rest of the room. Guests could read the display easily, and the couple had a strong photo backdrop without needing extra clutter around it. The set-up worked especially well once the evening moved into speeches and dancing, because the lighting held its shape as the room changed through the night.
For the venue team, the benefit was a clear pathway and a display that stayed stable. For the couple, it gave the reception a more finished feel without overpowering the other decor. The layout also suited the photographer, since the letters and lightbox sat in a spot with enough room for angled shots and group photos. That made the display useful, not just decorative.
- Strong photo point without crowding the reception floor
- Clear guest flow around the entrance and seating area
- Neat appearance through the full event service period
- Easy collection after the reception ended
Repeatable touches for Sandton setups
We would handle the sequence in the same way: confirm the entrance placement early, set the delivery position before arrival and keep the cable path as short and tidy as the room allows. That approach works well for weddings where the decor has to look polished without slowing the venue team. It also leaves room for late adjustments if the reception layout shifts after chairs, flowers or the cake table are set.
The Sandton job showed how much value there is in a clean setup and a careful handover. The illuminated letters did their job as the main visual point, the welcome lightbox gave the entrance a clear signpost and the cable work stayed discreet from start to finish. That combination suited the room and gave the couple a display that felt settled in place, not dropped in at the last minute.
Key facts
| Project | Sandton wedding reception setup |
|---|---|
| Items supplied | Illuminated letters and a welcome lightbox |
| Service scope | Delivery, venue set-up, safe cable routing and post-event collection |
| Power access | Venue power point check and short cable run |
| Installation style | Indoor placement with photo area layout |
| Timeline | Planned and installed across two weeks |