
Plan around the room layout before choosing décor
Before choosing any illuminated pieces, work from the room shape and the movement through it. A tight function room in Midrand, a hotel suite in Sandton or a smaller hall in Pretoria can feel neat on paper, then become cramped once chairs, gift tables and the cake stand are in place.
Measure the floor area available for setup and movement, not the full venue dimensions. Leave room for the entrance path, service access and the angle where guests naturally gather for photographs. In compact venues, one large feature often works better than several small ones because it creates a clear focal point without breaking the room into too many corners.
- Measure wall width, ceiling height and the distance between tables.
- Mark doors, fire exits and main walkways before the layout is fixed.
- Check where the camera-facing area will be for speeches and group photos.
- Note any low ceilings, pillars or tight corners that can affect placement.
Choose one main feature and let it carry the room
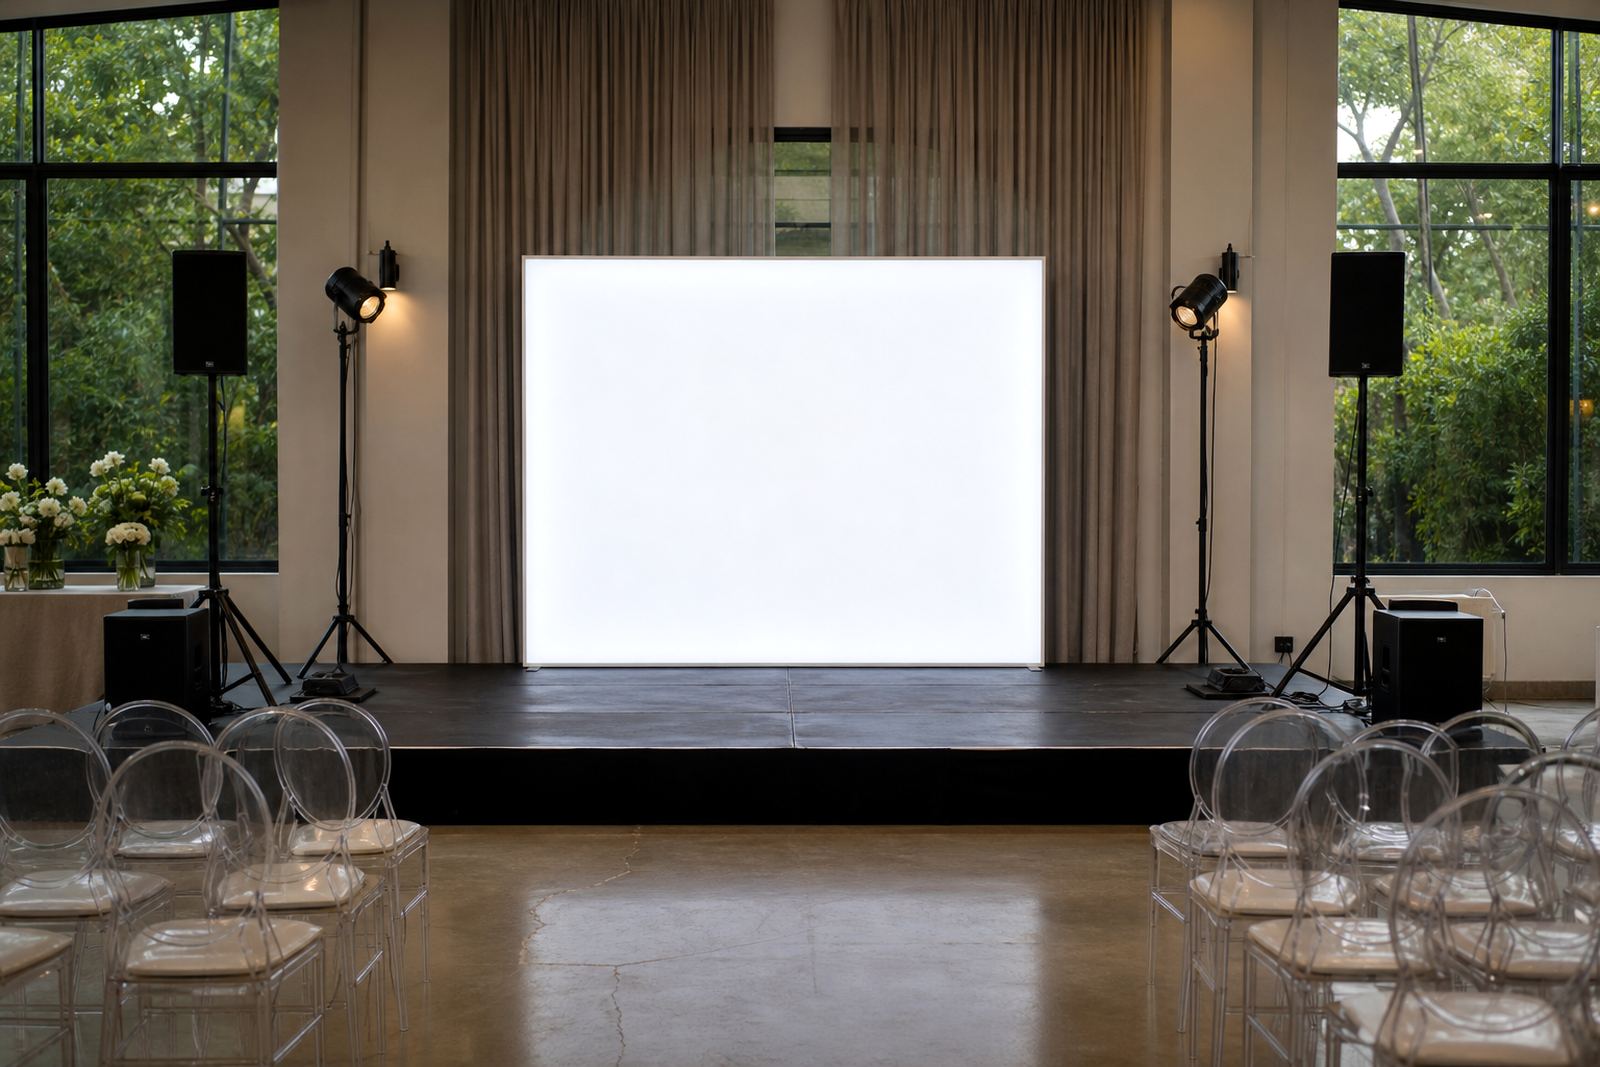
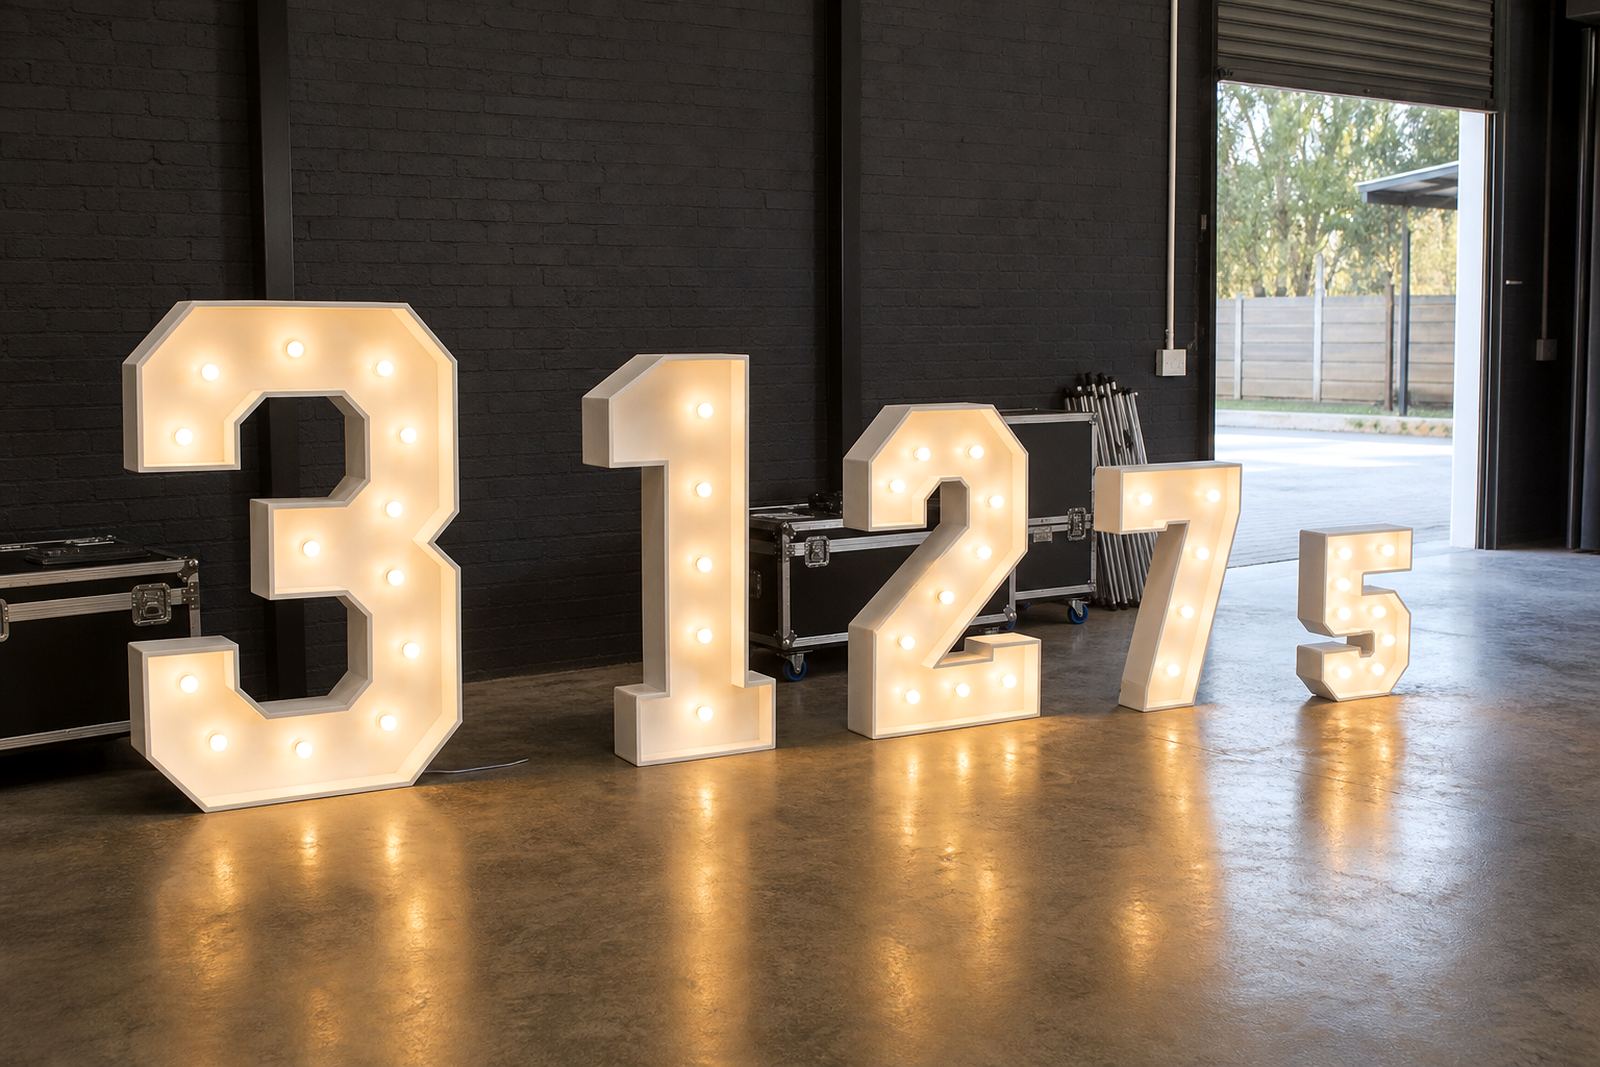
Small spaces usually benefit from restraint. A single LED lightbox behind the cake, a short run of marquee letters near the photo area, or one illuminated sign above a gift table can give the room a finished look without making it feel busy. Mixing too many glowing items in one compact venue can flatten the effect instead of improving it.
For weddings, initials or a short phrase often read better than a long message. For corporate events, a logo or short event name gives a cleaner result. If the venue has limited wall space, a freestanding lightbox can sit neatly beside the dance floor or at the edge of a stage without blocking movement.
- Use one hero piece first, then add smaller accents only if the layout still feels open.
- Use fewer words so guests can read the sign easily across the room.
- Match the item size to the room height and viewing distance.
- Place the strongest piece where guests will naturally pause.
Work with venue power points and safe cabling
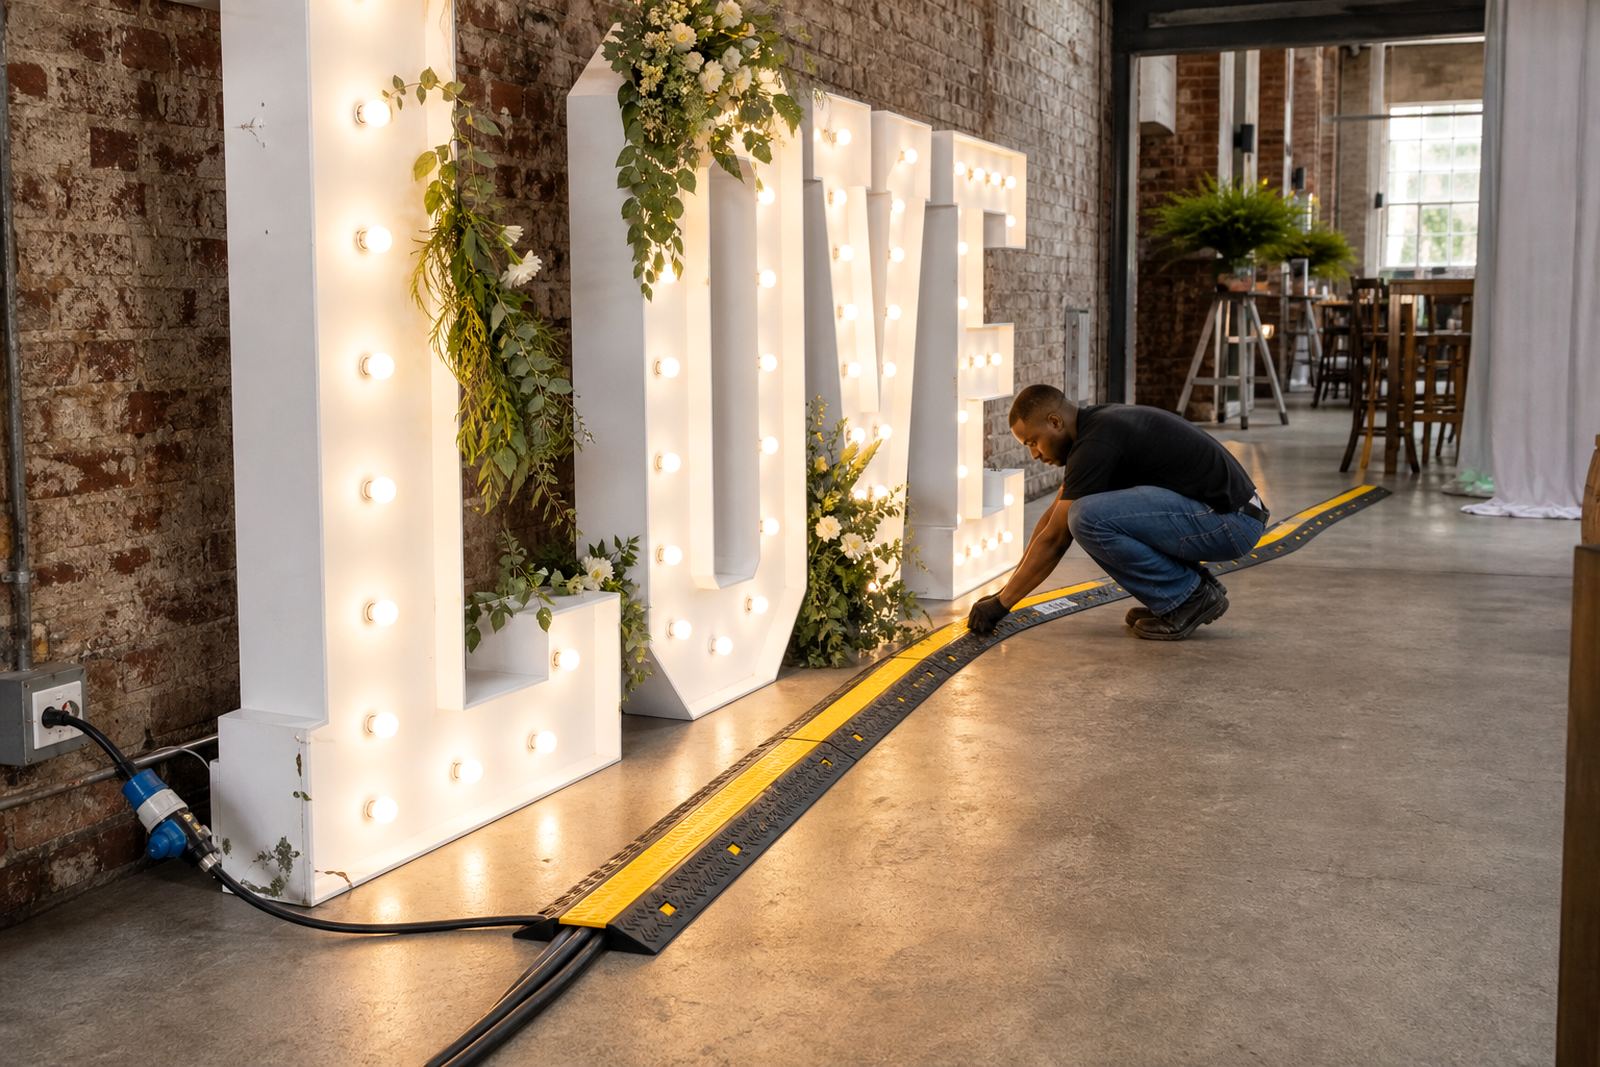
Illuminated signs and lightboxes need sensible power planning, especially when the venue is compact and cable runs must stay neat. A power point near the chosen position saves clutter, but the cable still needs a safe path that avoids doorways, chair legs and service routes. Polished floors and narrow aisles leave little room for cables, so we mark the lead route on the floor plan before load-in.
When the power point sits too far from the feature, the installation needs a clean route along the wall or behind other fixed items. Safe cabling keeps the room tidy and lowers the risk of a snag during speeches or the first dance. A proper check also helps when the event spans several areas, such as a welcome space, photo corner and main room.
- Identify the nearest power point before the item is set down.
- Keep cables flat and away from walking lines.
- Use the shortest practical cable route for the room.
- Test the light once the item is in position, not after guests have arrived.
Use height, corners and reflections to your advantage
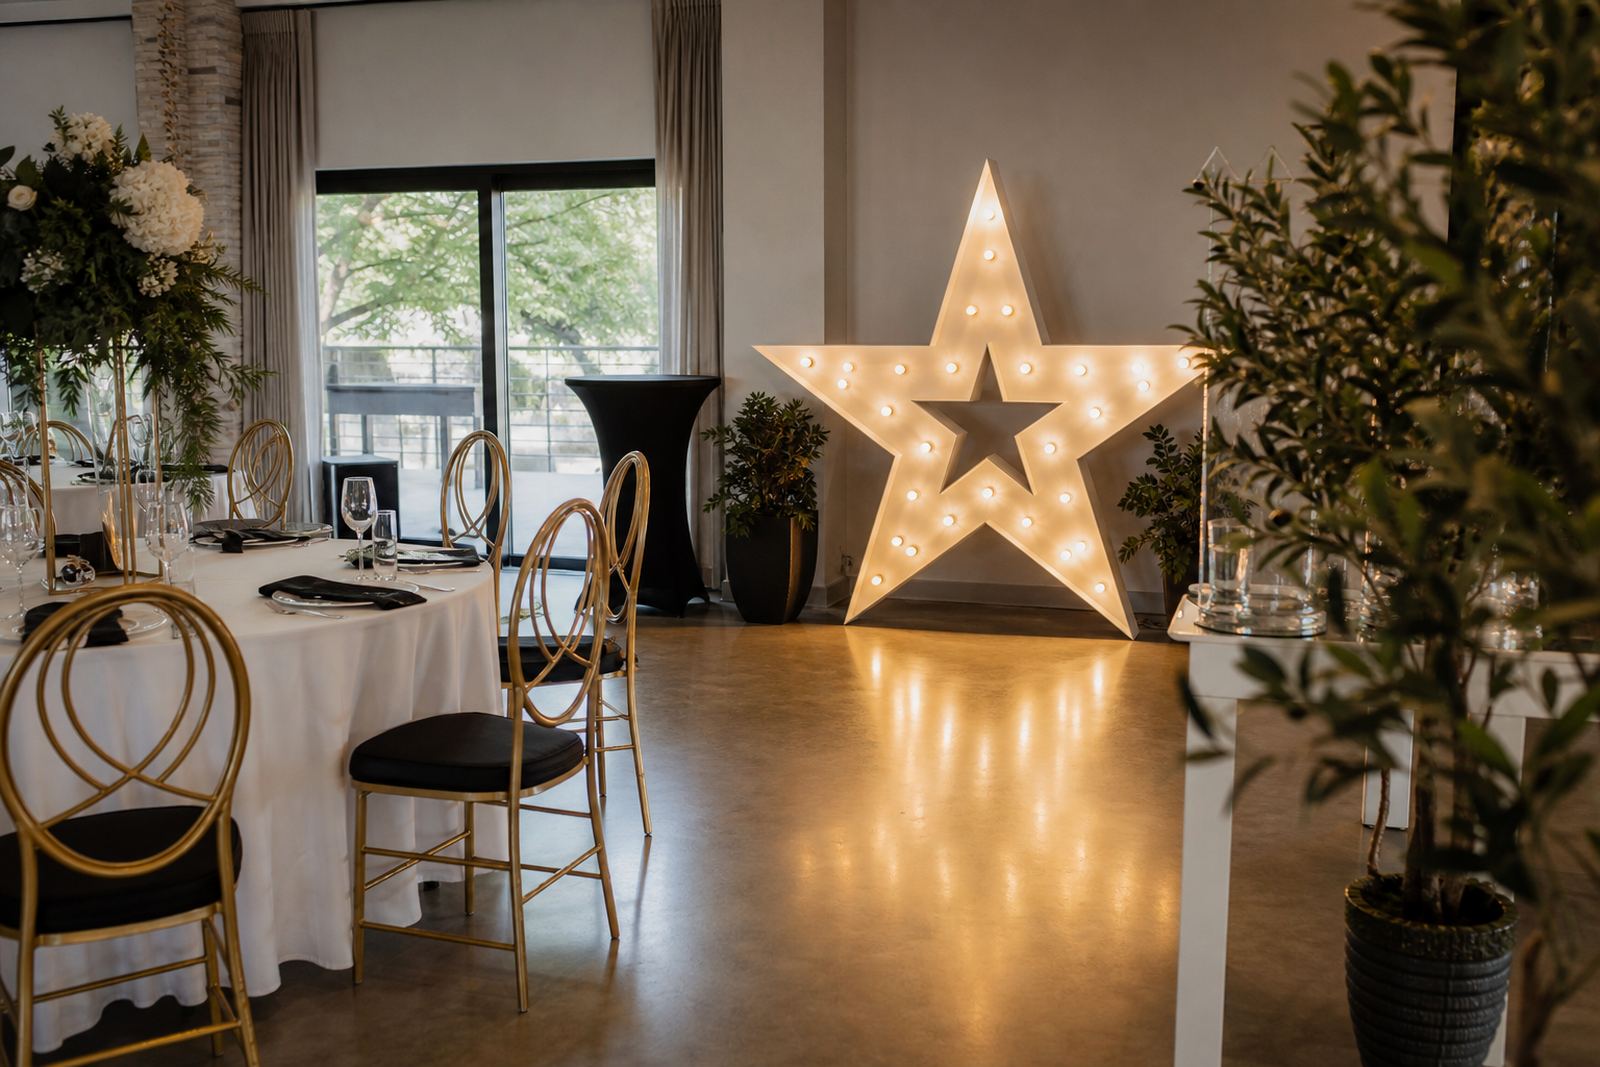
Compact venues can still look full of character when the display is placed with care. Corners work well for narrow marquee letters, while a lightbox near a mirrored wall or glass partition can give extra presence without taking extra floor space. Height matters too, because a sign mounted or placed slightly higher draws the eye and frees the lower part of the room for guests and furniture.
For indoor spaces in Johannesburg or Rosebank, light levels from chandeliers, windows and reflective finishes can change how bright the sign appears. A well positioned feature should stand out in photos without overpowering the room. If the venue has a low ceiling, keep taller pieces away from the centre line so the room does not feel closed in.
- Use corners for items that do not need to be touched during the event.
- Place reflective surfaces behind, not beside, the main feature.
- Keep tall items away from low hanging fittings.
- Check how the piece looks from the main photo angle and the entrance.
Build a compact layout for photos and speeches
Photo areas in small venues need to do more with less space. A single illuminated sign behind the couple, the speaker or the brand wall gives the camera a clear subject while leaving the rest of the room open. If the venue is used for both dining and photographs, the display should sit where guests can gather briefly without blocking servers or staff moving through the room.
For corporate launches, a logo lightbox near the arrival point often works better than placing it in the middle of the floor. For parties, a short sign beside the cake table can double as décor and a photo marker. The layout should support the event flow, not interrupt it.
- Keep the photo area close to a wall when floor space is tight.
- Allow enough space so guests can move in and out without risk.
- Use one clear backdrop rather than several competing features.
- Position the display where the camera can pick it up cleanly.
A sensible checklist for delivery, set-up and collection
Small spaces need precise handling during delivery and set-up, especially when access is narrow or the venue is already partly dressed. A careful install starts with the route into the room, the position of the power point and the final spot for each item. That keeps the process orderly and protects both the décor and the venue fittings.
When collection time arrives, the same route and sequence matter again. Compact venues leave less room for packing, so the items should be lifted and removed in the order that keeps the floor clear. For out-of-town events or late night collection, the setup should be planned with the venue rules in mind so the space can be handed back neatly.
- Check the way in from the door to where the item will stand.
- Check power, surface space and floor protection before unloading.
- Keep the install sequence short and practical for a small room.
- Plan collection so the venue can be cleared without crowding exits.
Midrand to Durban, the same principles travel well
The room size may change from Midrand to Durban, but the method stays similar: measure first, place once, and keep the room open. A compact ballroom in Centurion, a private dining space in Fourways or a coastal venue in Durban all need the same basic discipline, especially where humidity, glass, mirrors or polished floors affect how the display sits in the room.
That is where careful planning helps. The right item at the right size can hold a small venue together without making it feel crowded. LED lightboxes, marquee letters and neon-style signs work best when they are chosen for the room you actually have, not the room you imagined.
- Match item size to the venue, not the wish list.
- Keep the route for delivery and collection as short and clear as possible.
- Use one strong feature instead of several busy ones.
- Leave the room with enough space for guests to move comfortably.