
Start with the venue's live sockets
Walk the event space and find the power points that will actually be available on the day, not the ones hidden behind furniture or locked inside a side room. For LED lightboxes and illuminated letters, the closest useful socket is often the one that keeps cables short and out of guest walkways. In wedding venues, hotel function rooms, community halls and marquees, the best point is usually the one nearest the display area and not on the far wall.
Look for sockets that stay live through the event. Some venues switch certain circuits off after setup hours, or isolate catering equipment from event power. If there is any doubt, note which socket belongs to which circuit so the installation team can plan the layout properly. A small issue here can mean longer cable runs, extra tape on the floor or a display that has to move from the original spot.
- Check whether the socket is live without a light switch controlling it.
- Note if the point is on a wall, pillar or floor box.
- Look for hidden sockets behind draping, plinths or furniture.
- Mark where the display should face so cable routing matches the layout.
Measure the distance before the truck arrives
Once you have found the right socket, measure the distance to the exact display position. This matters for marquee letters, free standing signs and photo area setups where the wording must sit neatly on a wall, stage front or open floor. A few metres can change the cable path and the final look. It also helps the team decide whether a point is close enough for a clean installation or whether a different spot works better.
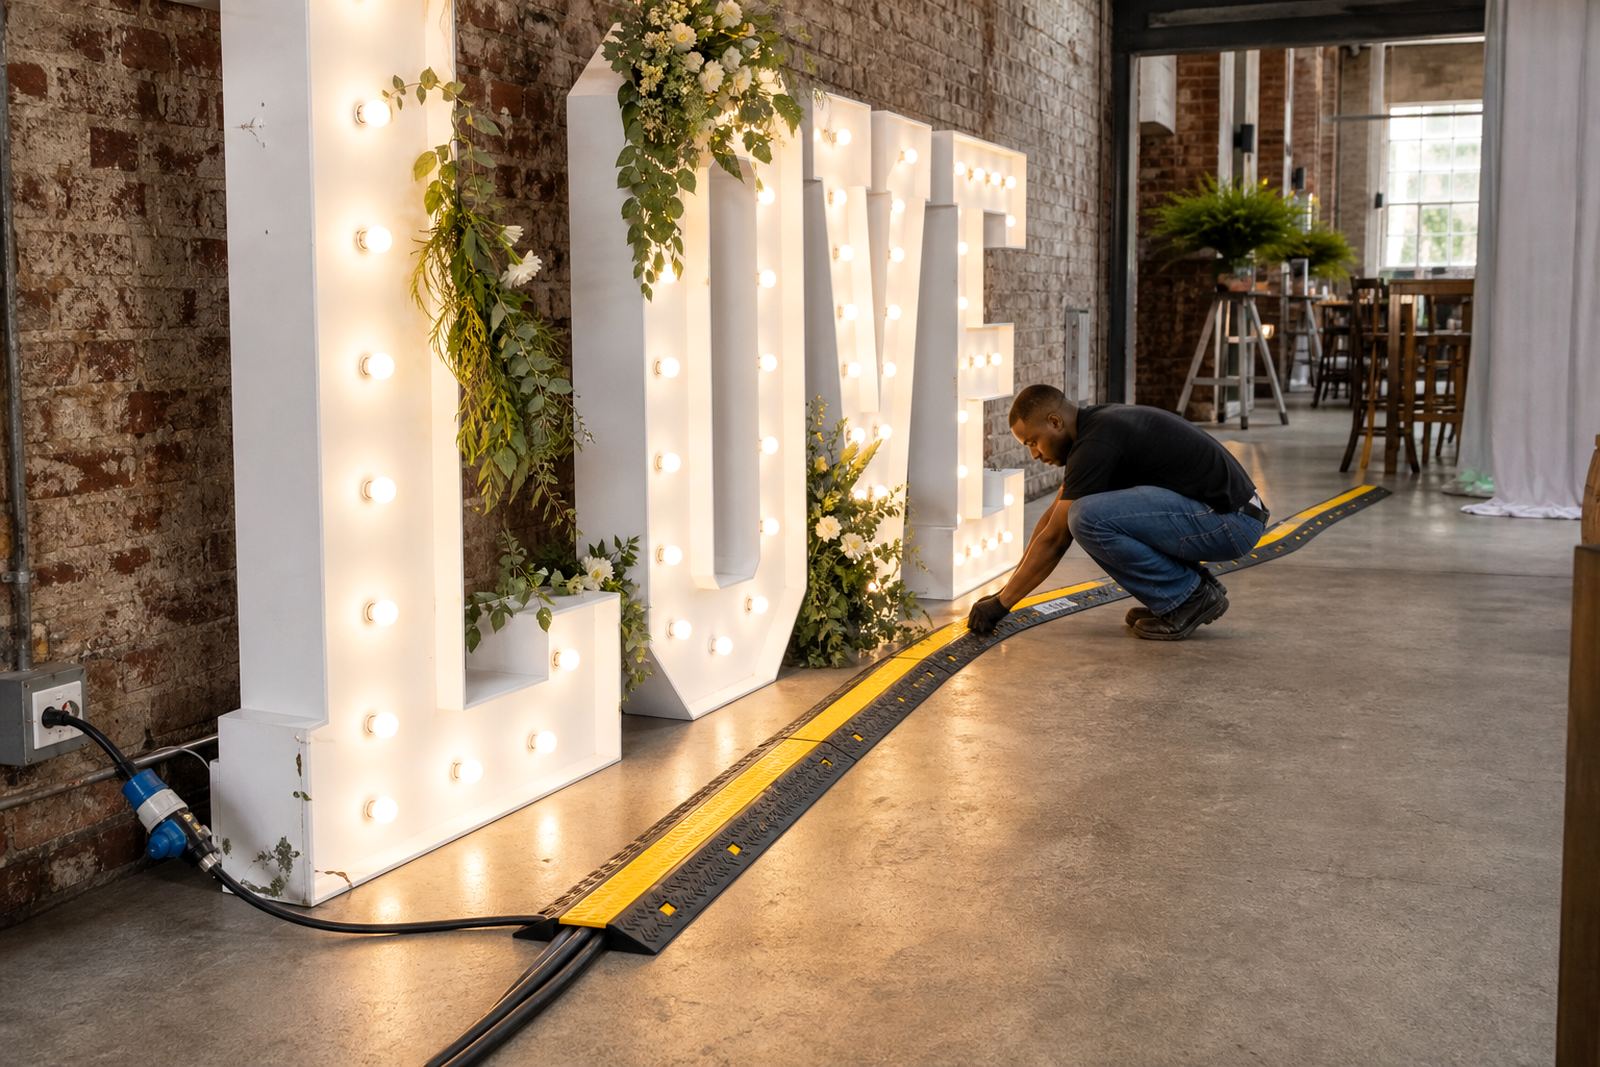
Take note of doors, stairs, buffet tables, dance floors and any place where people will move through the room. If a cable must cross a walking path, the route needs to be planned carefully and secured properly. On outdoor lawns or courtyard spaces, the path may need extra protection from foot traffic, uneven ground or damp surfaces after rain. Coastal humidity in Durban can also affect how cabling is arranged, especially where signs are placed near open edges or sheltered patios.
- Measure from socket to display position in metres.
- Check for places where guests will queue or dance.
- Note any steps, ramps or uneven paving.
- Record whether the route will be indoors, outdoors or mixed.
Match the socket to the load and the layout
LED lightboxes and illuminated letters draw modest power, but the circuit still needs to be suitable for the combined setup. If several items share one point, the total load should be considered together, especially for multi-item installs at corporate launches or busy wedding receptions. The installer may also need to factor in whether the venue uses other powered décor nearby, such as screens, uplighters or moving equipment for the stage.
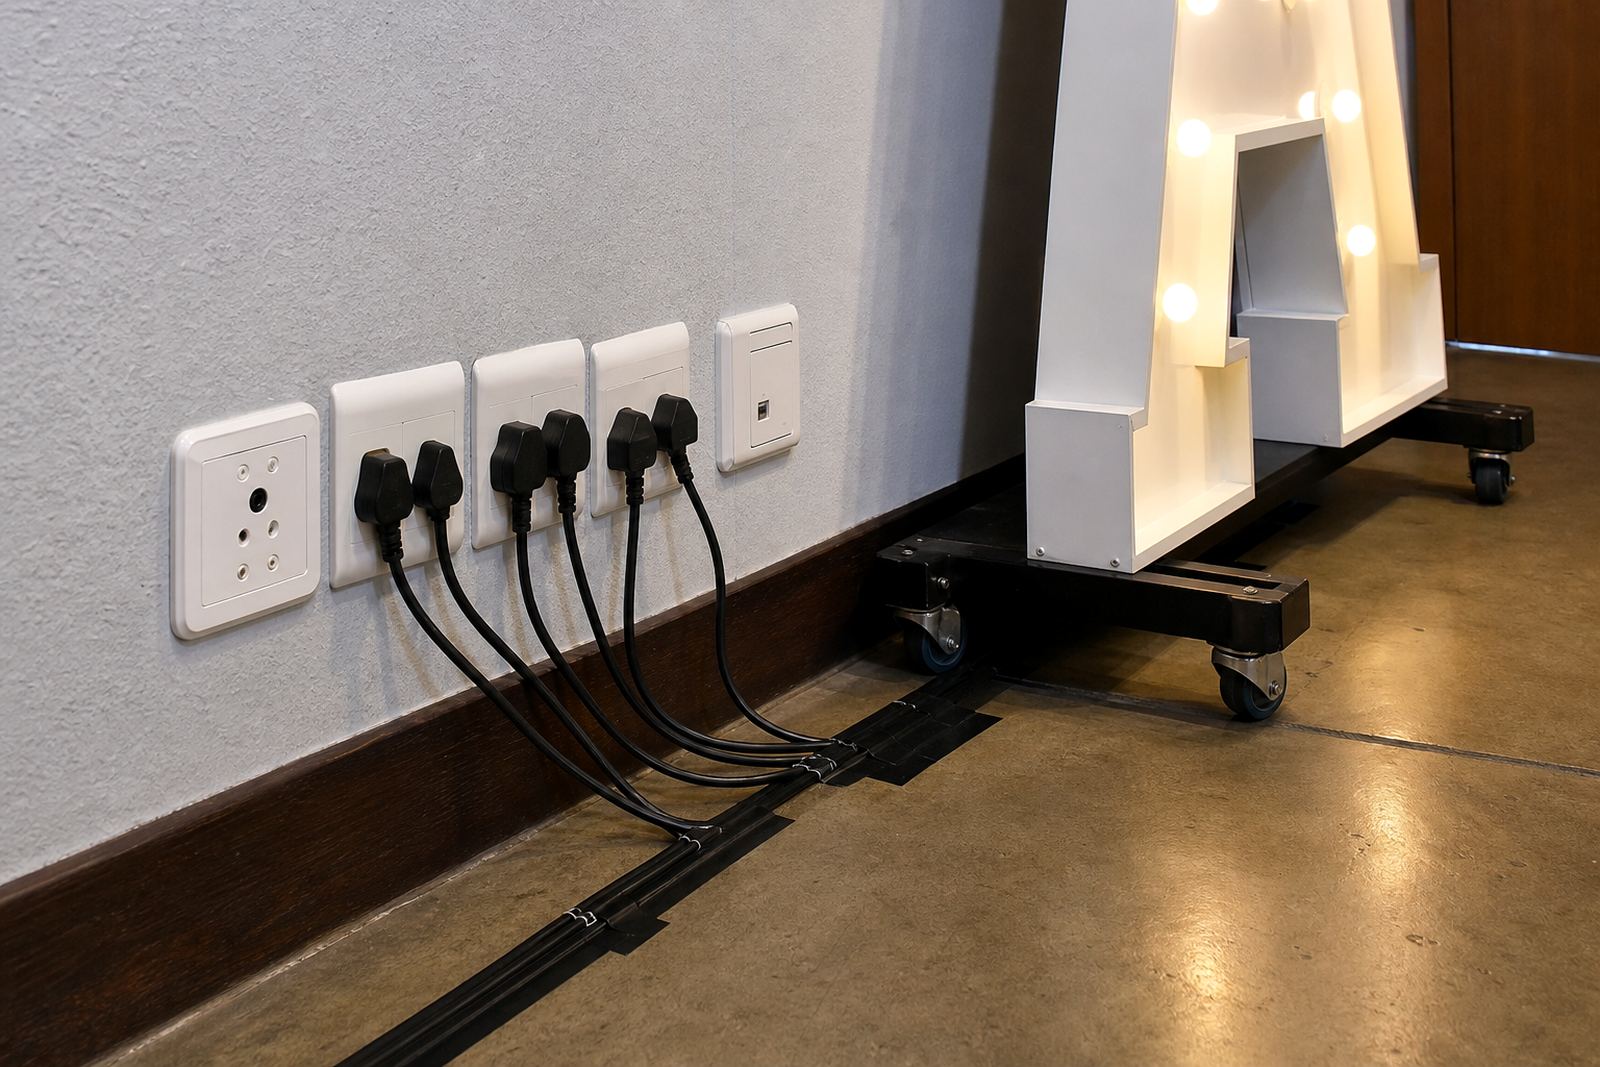
Ask the venue which sockets are on the same circuit and whether the event area shares power with kitchens, sound gear or bar stations. That information helps avoid overloading a single line. It also helps the team decide if the layout should be split across more than one point. Safe cabling is not only about hiding wires, it also keeps the route sensible and avoids pulling cords across doors or under heavy items.
- Tell the venue team which items you plan to hire.
- List any other powered décor or production gear in the room.
- Ask whether the event area shares power with catering or audio.
- Show the installation lead where the nearest backup socket sits.
What to look for in the room before set-up
Stand in the room and view it from the angle guests will see first. A socket that looks close on paper can still be awkward if it sits behind a curtain, under a raised stage or at the wrong side of a pillar. For neon-style signs and feature words, the final position often needs a neat line of sight as much as a nearby power source. The display should read clearly, without the cable becoming the first thing people notice.
Check the surface too. Wall-mounted items, free standing letters and lightboxes need a stable area that will not wobble or trap heat. If the setup is outdoors, look for dry cover, wind protection and a way to keep the cable route tidy. For indoor venues in Johannesburg, Sandton, Midrand or Centurion, the issue is often access across polished floors and through narrow service passages, so the route needs to stay neat from the start.
- Stand where guests will enter and check the first sightline.
- Look for curtains, pillars or décor that could block access.
- Check that the ground is even and secure.
- Note any wet areas, tight corners or moving doors.
Tell the team what the venue already allows
Some venues have house rules on cables, wall fixings, floor tape and access times. Others allow more freedom but still expect the installation to stay neat and safe. If the venue has a preferred access route, loading bay, lift or service entrance, share that detail early. It helps with delivery, set-up and later collection, especially for larger letters or multiple lightbox pieces that need careful handling.
The booking note should also mention whether the venue has power points inside a private room, near a dance floor or behind a stage. If there are any restrictions on running cables across carpet, tiles or outdoor paving, those should be flagged before installation day. In some buildings, access rules affect where the display can sit more than the décor brief does, so the power plan has to fit the room, not the other way round.
- Share venue access rules and loading instructions.
- Point out any off-limits areas for cables or fixtures.
- Confirm whether indoor or outdoor placement is allowed.
- Let the team know about stairs, lifts or narrow entrances.
A short checklist to use before installation day
Use a quick check the day before the event and again when you arrive at the venue. A few minutes of checking can save a lot of moving once the gear is on site. Keep the details practical and specific, especially for weddings and corporate functions where the display must sit exactly where the photographer, speakers or guests will see it best. If the setup includes more than one illuminated item, each piece should have a power route that makes sense on its own.
Write down the socket location, the display position, the route between them and any venue rule that affects the setup. If the item is outdoors, add a note on shelter, surface type and distance from foot traffic. That small list gives the installation team a clear picture of what the room can support and where the safest layout sits.
- Socket location and circuit note.
- Exact display position and facing direction.
- Distance in metres from socket to display.
- Any stairs, doors, carpets or wet areas.
- Venue access rule or power restriction.
When a second socket helps the layout
A second socket is useful when the first point would force a long cable route, a messy crossing point or a split setup across a large room. It can also help when a marquee letter feature and a separate lightbox need different positions, such as one near the entrance and another beside a photo area. In that case, the layout often looks cleaner when each item has a nearby point instead of sharing one distant outlet.
If the function is in Pretoria, Rosebank, Fourways or further out of Gauteng, this planning becomes even more important because the venue size and access pattern can vary a lot. The same applies to Durban events where outdoor areas and indoor rooms are sometimes used together. A second point is not always needed, but it is worth noting where one exists so the final setup can stay neat and practical.