
Start with the space that matters most
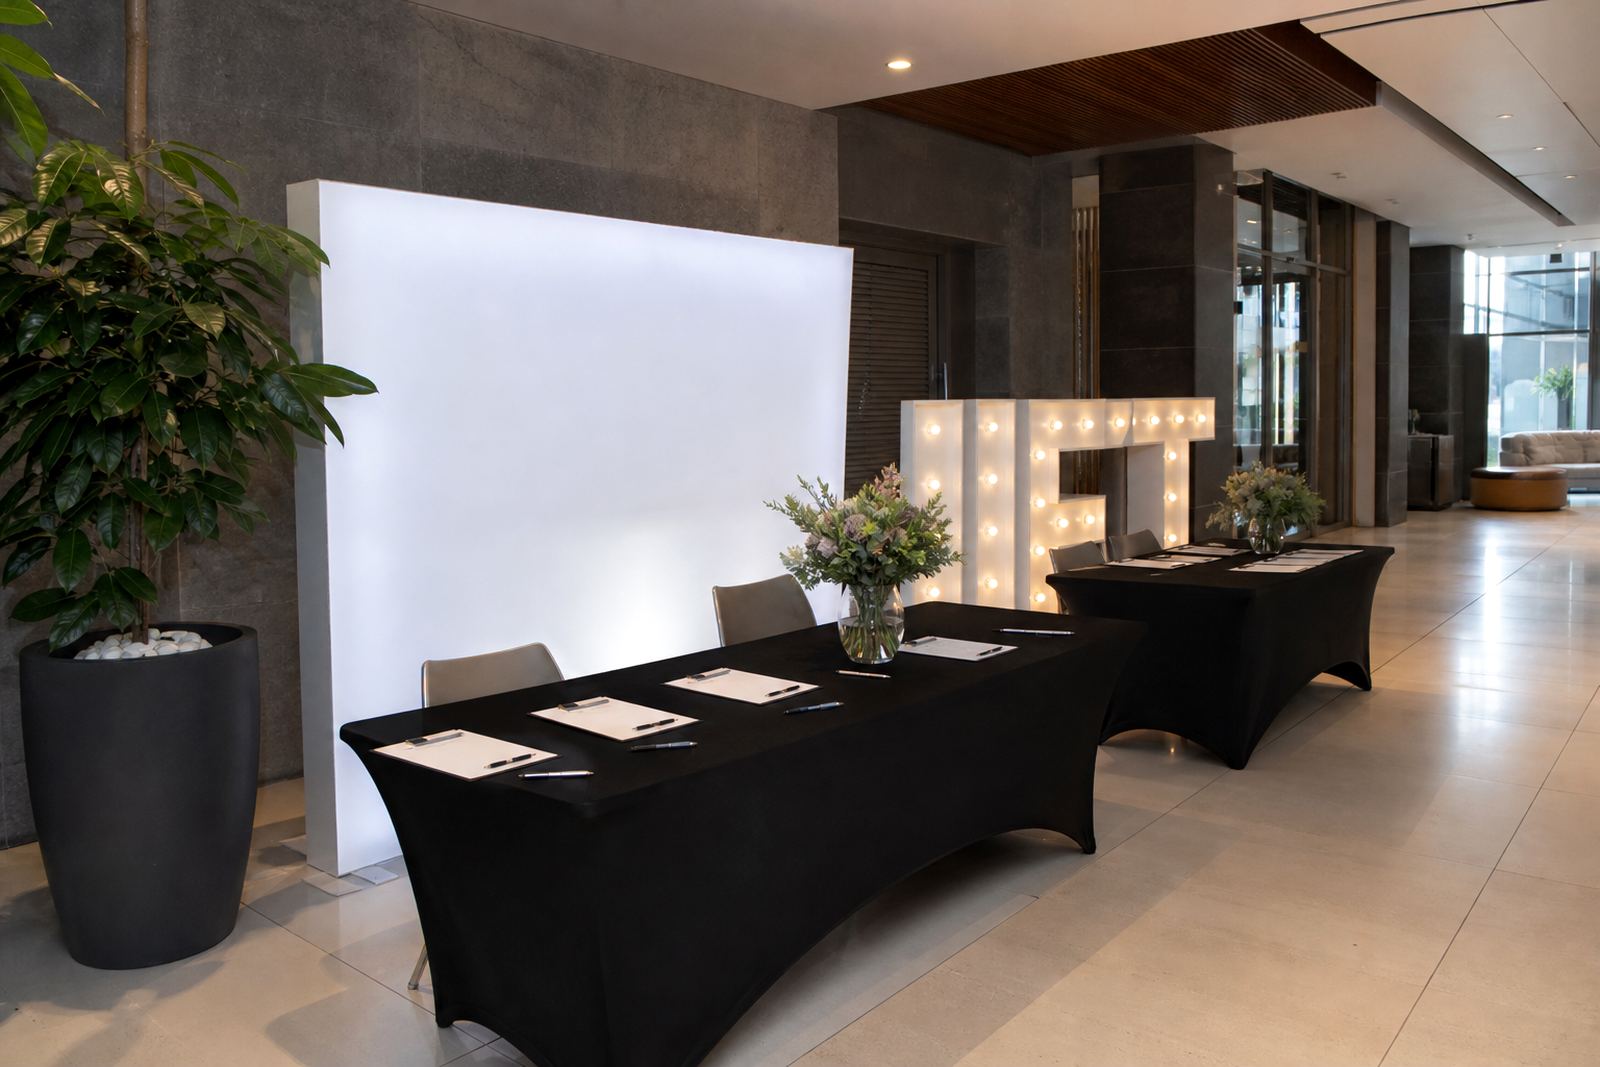
Measure the part of the venue where guests will actually see the sign. That might be the entrance, stage edge, dance floor, photo wall, or head table area. A sign can look perfect on paper and still crowd the room if the practical space is tight.
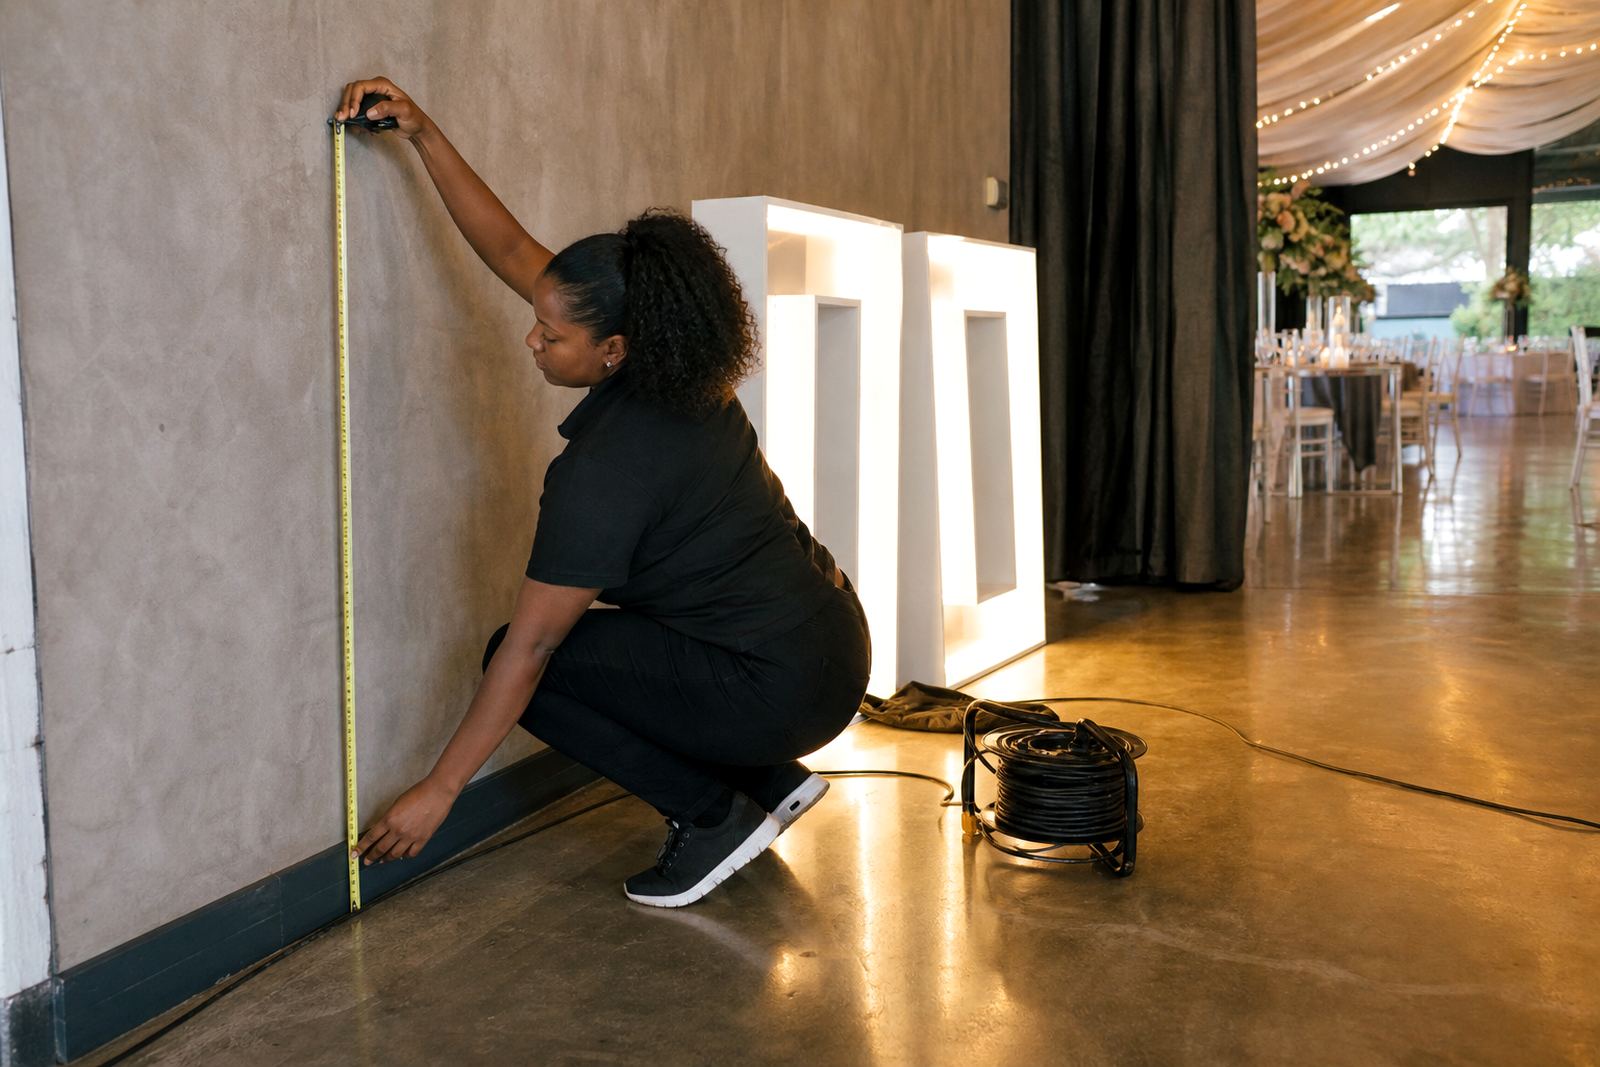
Walk the area with a tape measure and note the clear width, the clear depth, and any furniture that will stay in place. If the room has pillars, low beams, or a raised platform, count those into the usable space too. In Midrand and across Gauteng, venue layouts change a lot from one hall to the next, so it helps to work with the exact space rather than a rough guess.
Take three numbers before you pick the size
Use three basic measurements for every installation point. Height tells you whether the letters or lightbox will sit comfortably under décor or wall features. Width shows how much frontage you have. Depth shows whether the item can stand without blocking service areas or guest movement.
- Take the usable width across the full space from one side to the other.
- Measure the clear height from floor to ceiling or backdrop edge.
- Measure the floor depth from the wall or backdrop to the nearest walkway.
- Mark any doorways, bar counters, cake tables, or speaker stands nearby.
Once those numbers are on hand, the choice becomes much easier. A narrow entrance works better with slimmer illuminated letters, while a larger stage area can carry a wider LED lightbox or a full set of marquee letters.
Leave room for guests and staff movement
A sign should frame the event, not pinch the room. Leave clear walkways for guests, photographers, caterers, and service teams. If guests need to pass between the display and a wall, that space should stay open and easy to use.
Check where people enter, where they pause for photos, and where they turn around. Small gaps can feel tighter once florals, plinths, uplights, or tables are added. At weddings and corporate functions, a few extra centimetres make a difference when people are carrying trays, moving décor, or lining up for pictures.
- Keep exits and access paths open.
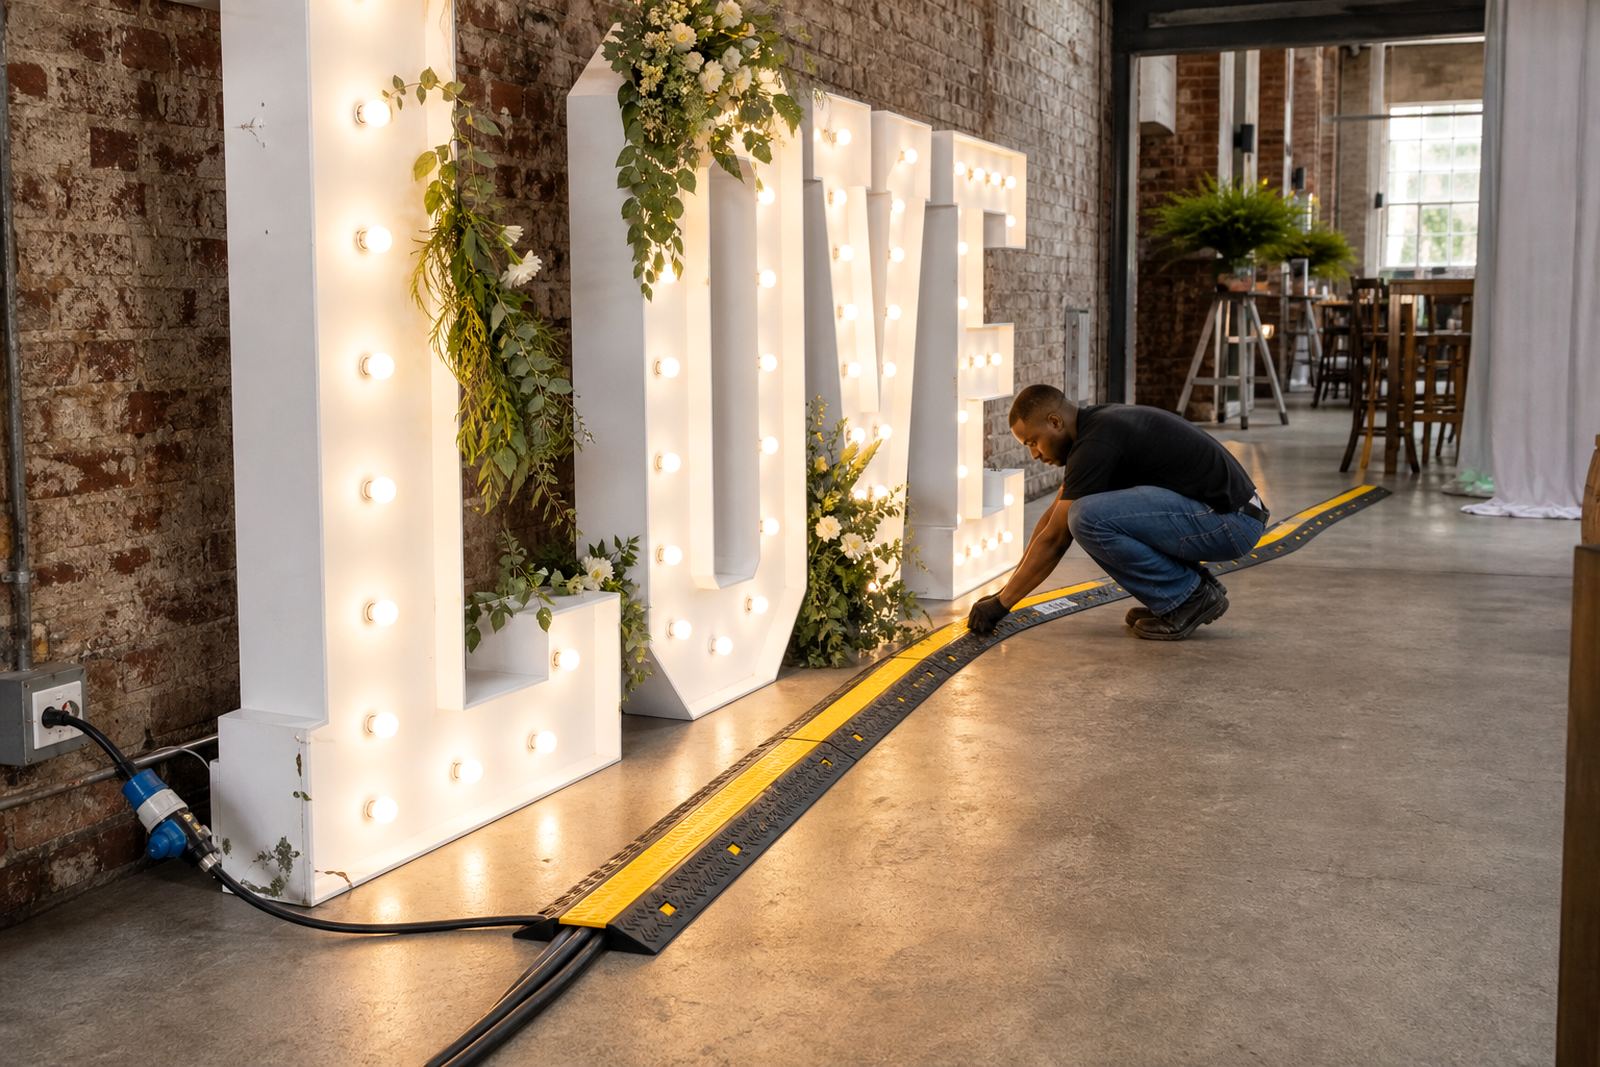
- Allow space for cables to run neatly.
- Leave room for the installation team to position and level the item.
- Do not place signs where doors swing open into them.
Check power points before the layout is final
Illuminated signs need a reliable power point close enough for tidy cabling. Measure the distance from the planned sign position to the nearest socket, then check whether that route crosses a walkway, a doorway, or a service aisle. If the cable has to stretch too far, the layout may need to shift a little.
Tell the venue where the power points are, and note whether they sit on a wall, behind a stage, or near a bar counter. Safe cable routing matters in busy spaces, especially where guests wear formal shoes and children move around freely. If the venue has limited sockets or awkward placement, it is better to know that early and plan the sign position around it.
Measure for photos, not only for placement
Many clients want the sign to work as a photo area as well as a feature piece. That means the viewing angle matters. Stand where guests will take pictures and check whether the sign is centred, visible, and not blocked by furniture or décor. If the sign is too close to a wall, the photo can feel cramped. If it sits too far back, it can lose presence in the room.
For wedding backdrops and launch displays, it helps to think about the full frame. Consider the height of the sign, the width of the backdrop, and the space in front of it. A neat layout gives guests enough room to stand comfortably without stepping into service routes or pushing into other décor.
Check these details before you send your measurements
A short checklist keeps the booking clear and avoids guesswork. It also helps when the same display needs to travel between Johannesburg, Pretoria, Sandton, Centurion, Durban, or other Gauteng venues. Clear measurements make delivery, set-up, and collection easier to plan.
- Venue name and suburb.
- Exact display location inside the venue.
- Width, height, and depth of the space.
- Nearest power point and cable path.
- Any stairs, lifts, loading bays, or access limits.
- Time the venue allows for set-up and collection.
If you are comparing a small entrance display with a larger photo wall piece, this checklist helps you see which option fits better. It also gives the team enough detail to plan the delivery route, unpacking point, and the safest way to place the sign.
When the venue is tricky, measure twice and mark the floor
Older halls, hotel rooms, and function spaces with unusual corners can throw up small challenges. A taped outline on the floor is often useful when the room is still empty. It shows how much space the sign will occupy and whether guests can still move through the area without squeezing past it.
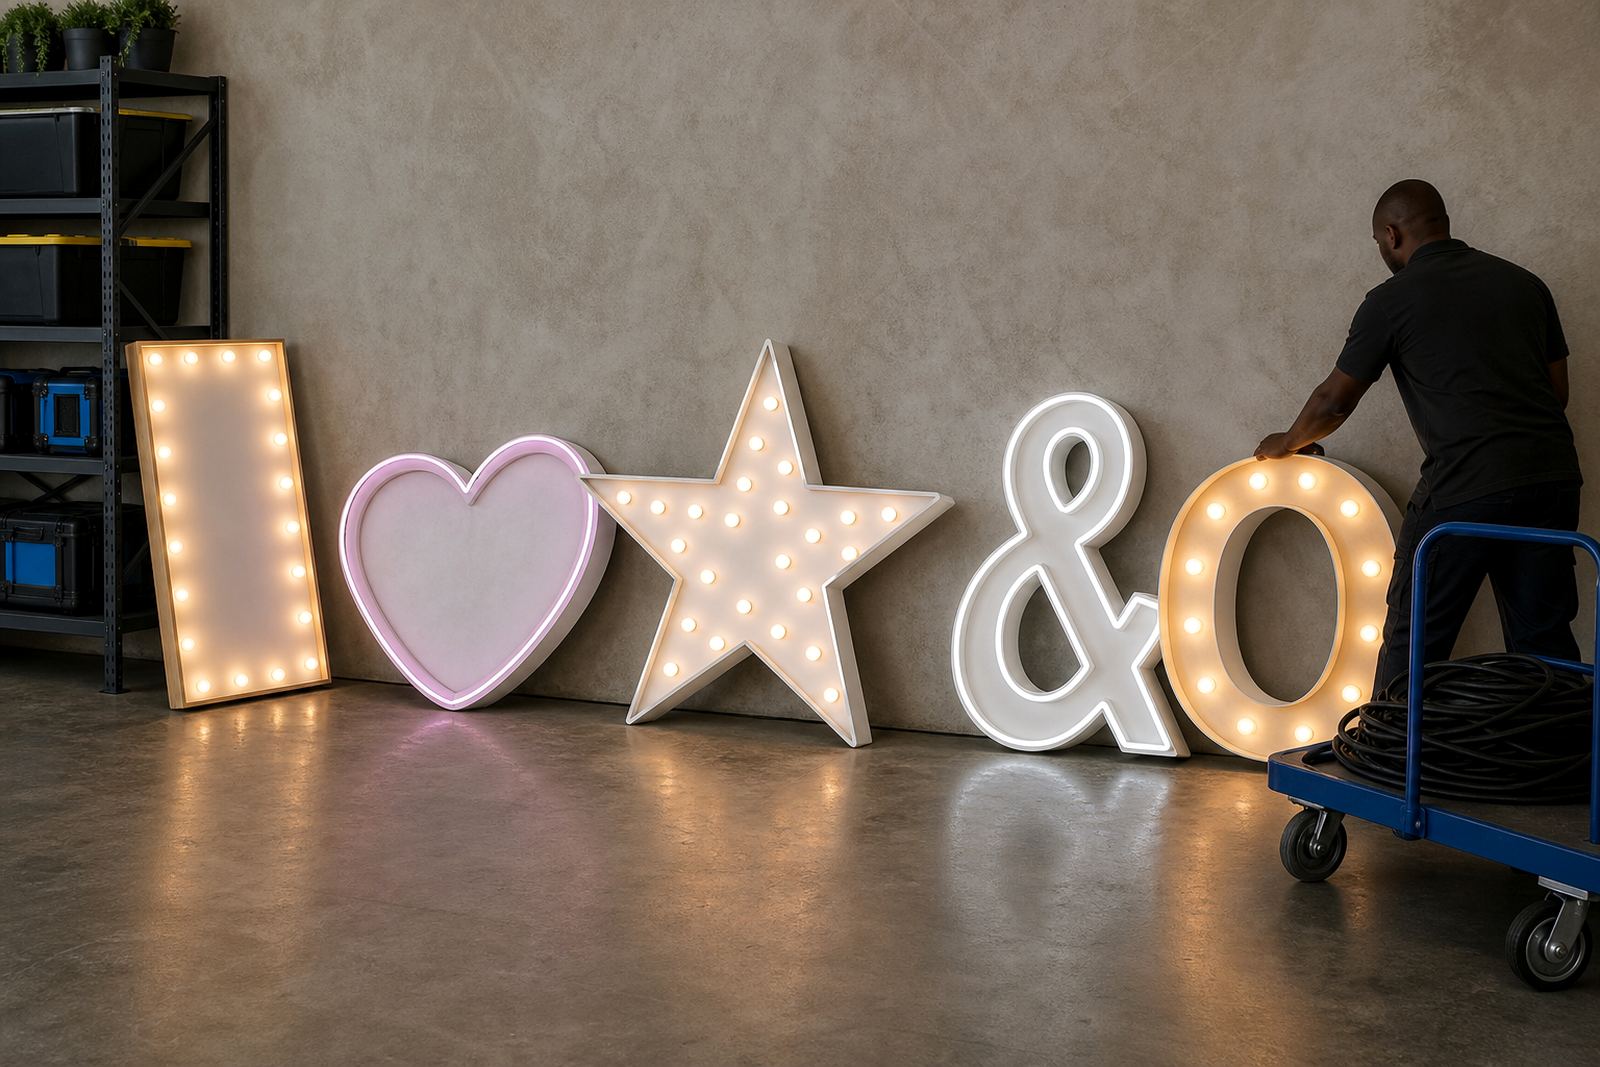
If the event includes a mix of marquee letters, LED lightboxes, and neon-style signs, mark each item separately. That helps you see the relationship between the pieces and keeps the final layout balanced. A well measured room feels calmer on the day, and the display sits where it should without crowding the rest of the setup.