
Start With the Space, Not the Sign
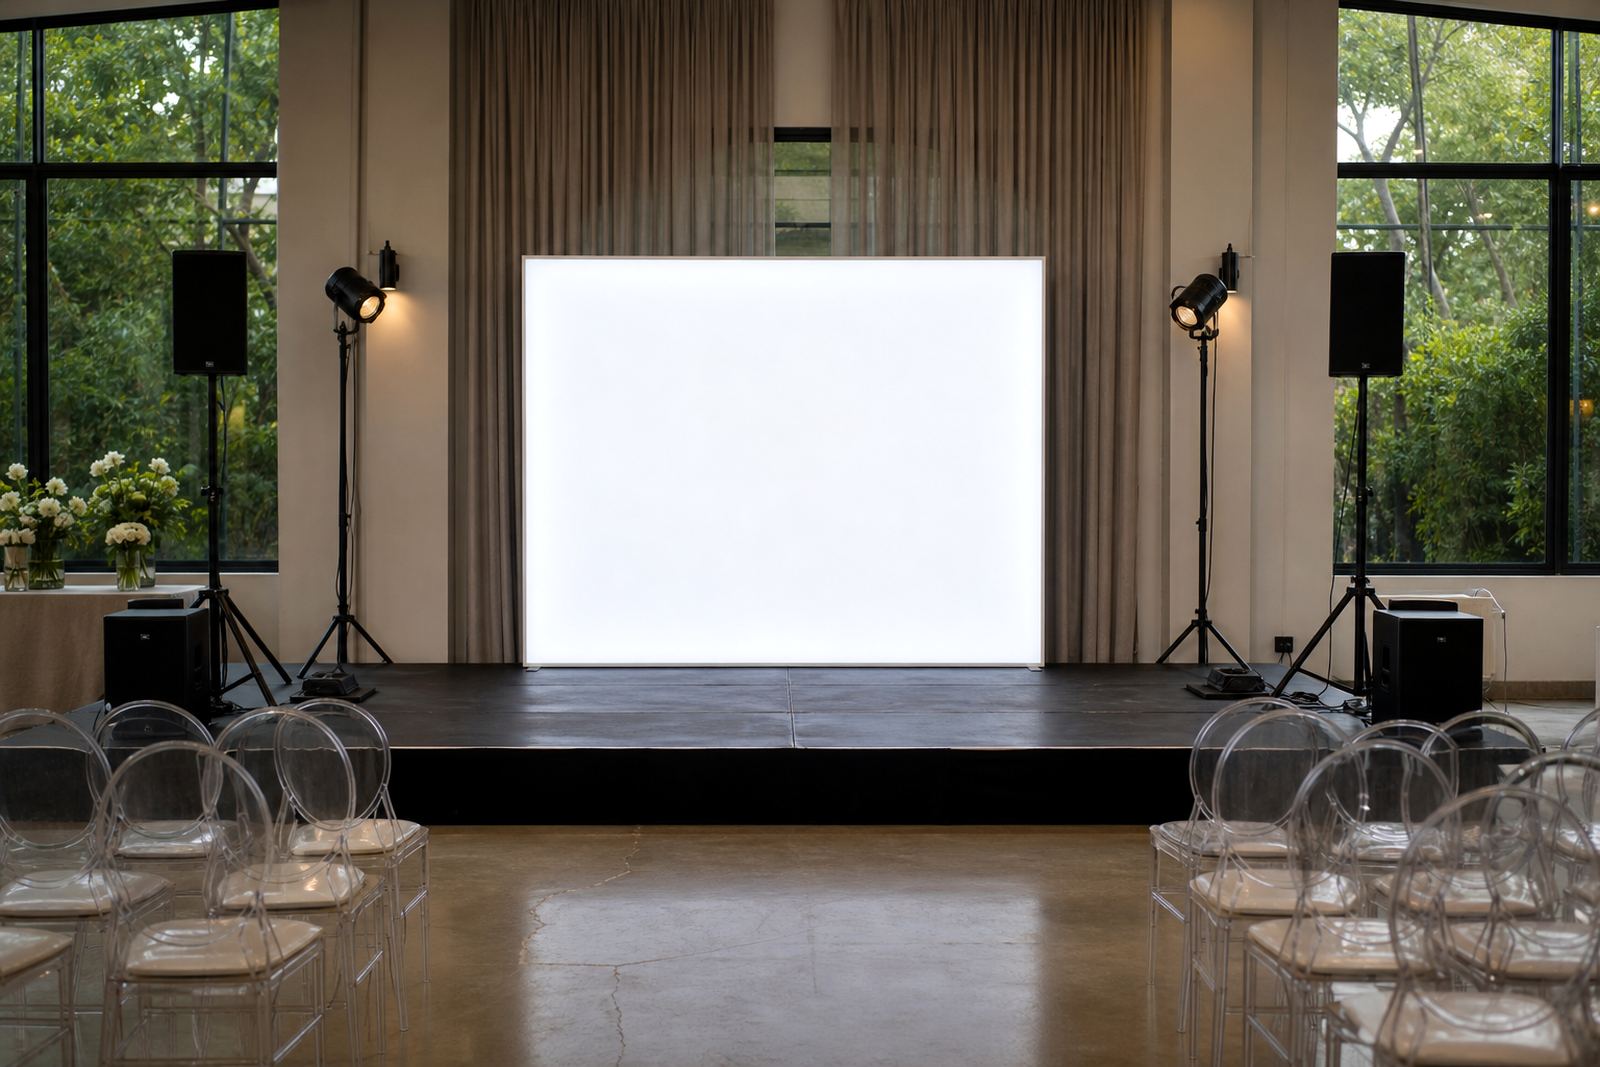
Before any lighting or lettering goes in, work out how people will stand, where they will queue and what the camera will see first. A photo wall that sits too close to a doorway gets brushed past, while one tucked into a dark corner can leave guests squinting and stepping out of frame. In Midrand, Johannesburg and Pretoria venues, the better spots are often along a plain wall, beside a draped frame or near a reception area with enough width for two or three people at a time.
Measure the wall and the floor area in front of it. Leave enough room for guests to step back, especially when the setup includes a large illuminated sign or a row of marquee letters. If the venue has polished floors or outdoor paving, check that the base stands level and that the route to the wall is clear for safe cabling.
- Check the wall width, ceiling height and floor depth together.
- Keep the photo point away from busy service paths.
- Allow space for guests, a camera and a small waiting line.
- Use a flat area where lightboxes or letters can stand evenly.
Choose a Backdrop That Lets the Letters Work
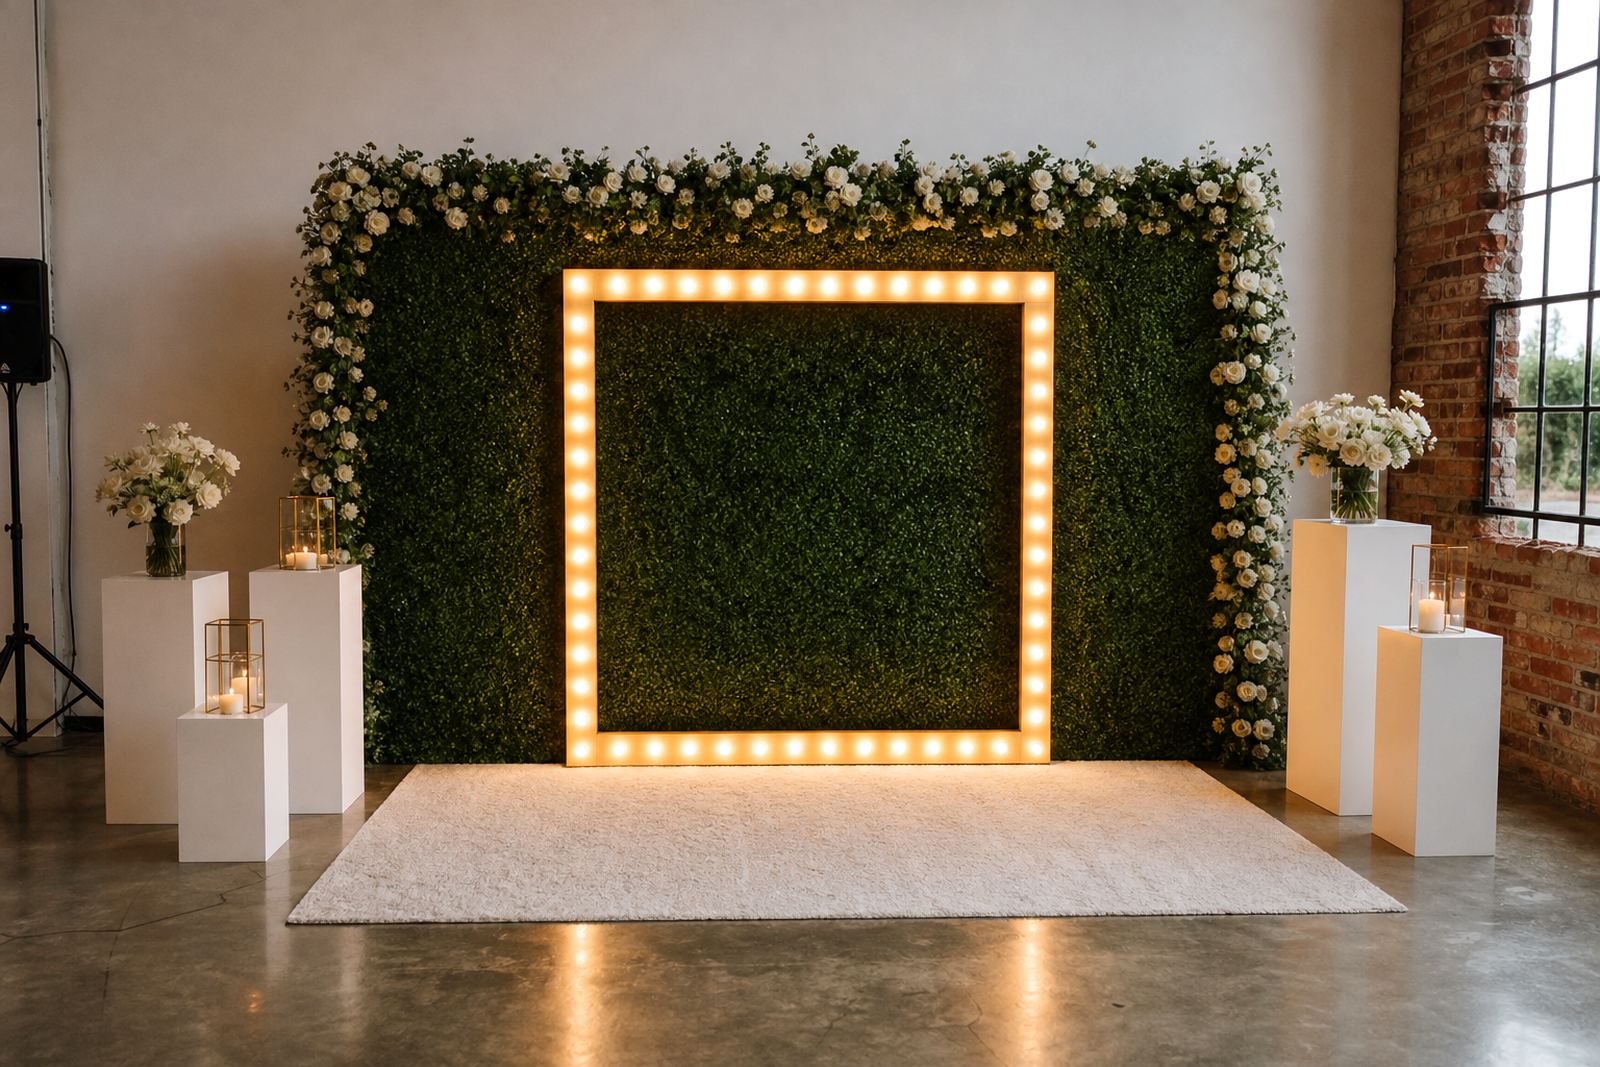
Backdrop choice changes the whole feel of the picture. Matte fabric, plain draping, floral panels and timber frames all work, but the finish should support the sign rather than compete with it. If the lettering is already bright, the background should stay calmer. If the backdrop is textured, keep the sign shape cleaner and the colours more contained.
For weddings, soft neutrals and warm tones tend to sit well with glowing letters and narrow lightboxes. For corporate events, a sharper frame with clean lines gives the logo or event wording more presence. Outdoor placements need extra attention to wind, ground level and the way light changes as evening settles in. Coastal humidity in Durban can also affect the choice of materials and fixings, so the backdrop and base need to stay stable through the event.
- Use plain draping when the sign needs to carry the picture.
- Choose a textured backdrop only if the sign stays bold and readable.
- Match the backdrop tone to the event colour palette.
- Keep outdoor frames weighted and secured for the site conditions.
Place the Sign Where Eyes Land First
A photo wall works best when the main message sits at eye level and slightly above the centre of the frame. Guests naturally look toward the brightest point, so the key wording should be easy to read without forcing people to tilt their heads. Marquee letters need enough spacing to stand clearly, while a narrow neon-style sign benefits from a plain background that lets the shape show through.
If the wall includes more than one item, build a visual order. Put the main phrase in the strongest position, then frame it with smaller elements, floral pieces or side lights. Avoid packing every inch of the backdrop. Gaps help the eye rest and give photographers a cleaner image. That balance matters at launches and corporate functions, where the sign often appears in many guest pictures.
- Keep the main sign slightly above the natural eyeline.
- Let each item have breathing space around it.
- Use one anchor point, then build the rest around it.
- Make sure the wording stays readable from a few steps back.
Plan the Power and Cable Route Before Set-Up Starts
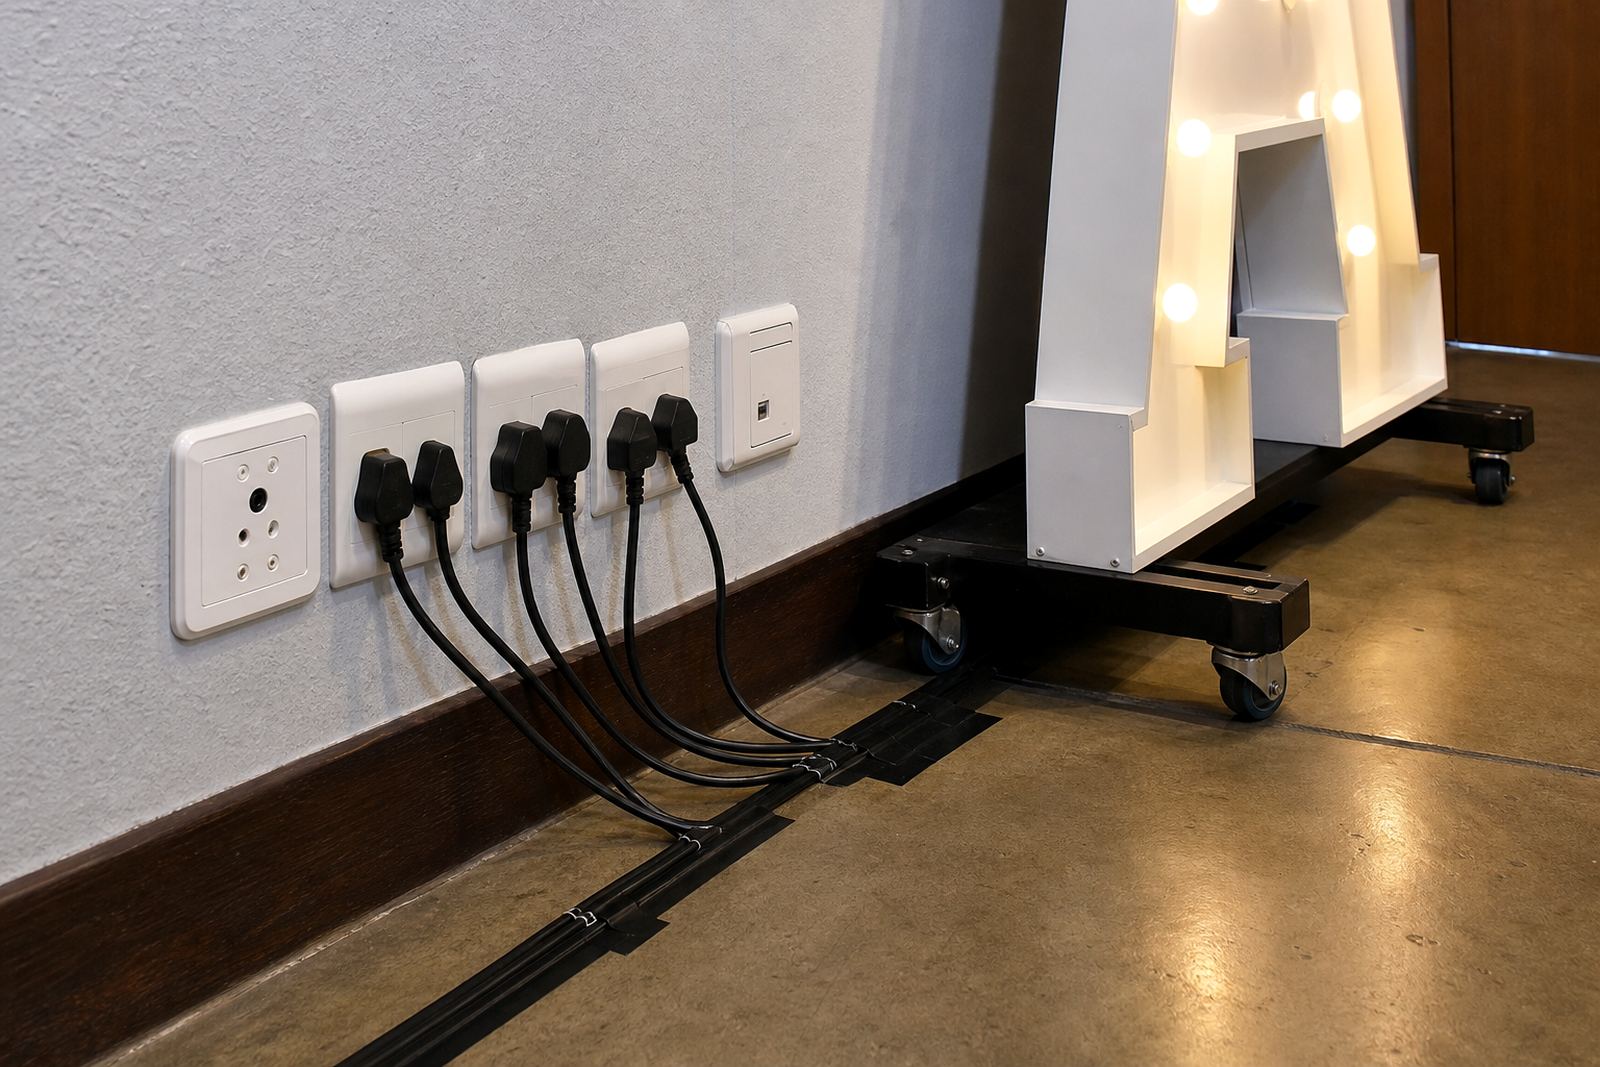
Illuminated signs need a proper power point check before the team starts placing anything on the wall. The location of the socket affects where the sign can stand, how the cable runs and whether the setup stays neat under guest traffic. Safe cable routing matters most around dance floors, entrance paths and photo points where people may step sideways while posing.
The cable should not cut across the walking line or sit loose under the edge of a backdrop. Where needed, route it behind the frame, along the base or through a covered path that suits the venue rules. Some venues prefer indoor placement only for certain walls, while others allow outdoor layouts if the route is protected and the equipment stays dry. A clean run keeps the picture area looking finished instead of technical.
- Confirm the nearest usable power point before the install begins.
- Keep cables out of the photo zone and main walkway.
- Use routing that suits the floor finish and venue rules.
- Check that the sign can stay steady without visible strain on the lead.
Build a Photo Area That Works for Groups
Guests rarely pose alone for long. A stronger photo wall gives space for couples, friends and teams to stand together without hiding the sign. That means the setup needs width, a clear front edge and light that falls evenly across faces. Multi-item installs can work well here, especially when illuminated letters sit beside a lightbox or a smaller neon-style phrase to create one complete frame.
For larger groups, keep the side elements lower or wider so the centre remains open. If the wall is being used at a wedding, leave room for dresses, bouquets and movement. For corporate events, make sure the branding or message stays visible even when several people are in the frame. A photo area layout should feel generous, not crowded and a little planning at the start makes the pictures far easier to use later.
- Keep open space in front of the wall for guests to stand comfortably.
- Keep the centre open for group photos.
- Use matching heights where the frame needs balance.
- Check that the sign still reads well with people in front of it.
Set-Up, Collection and the Final Walk-Through
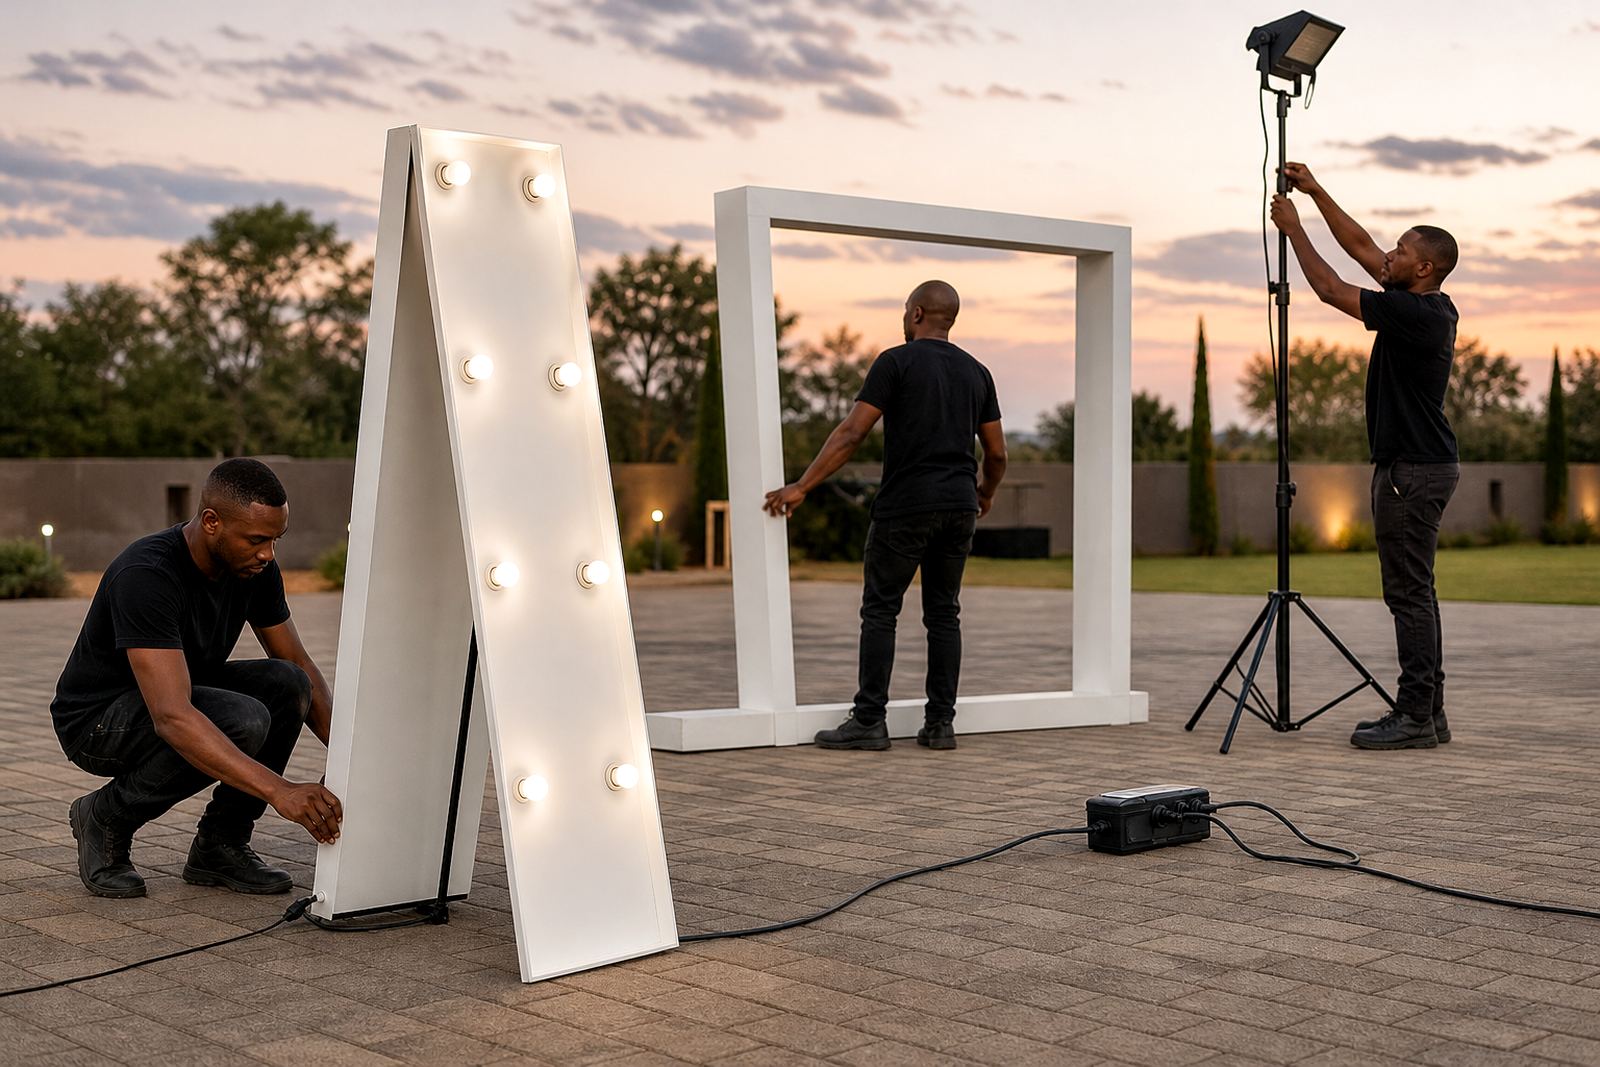
Once the structure is in place, the final check is practical. Look at the wall from the guest side, not only from the back. Read the wording, check the glow, inspect the spacing and look for anything that feels crowded or off-centre. If the installation is outdoors, recheck the base and the cable path after the sign has been standing for a short while. Wind, floor movement and a busy event space can all shift a layout more than expected.
After the event, collection needs the same care as the install. A tidy pack-down protects the letters, keeps the backdrop in better condition and helps the venue handover stay smooth. For out-of-town logistics across Gauteng and into Durban, the load-in and collection plan should suit the venue access, parking and any late-night requirements. A good photo wall is not only bright, it stays neat from first guest to final pack-down.
- View the wall from the photo side before guests arrive.
- Check the glow, spacing and readability together.
- Confirm the base is steady after set-up.
- Pack down in a sequence that protects the equipment and the venue.